Fluid Rendering Demos
Particle system
This example shows how a standard particle system can be rendered as a fluid.
To enable fluid rendering of a particle system, simply do:
const fluidRenderer = scene.enableFluidRenderer() ;fluidRenderer.addParticleSystem(particleSystem);| particle system | The same particle system rendered as fluid |
|---|---|
particle system 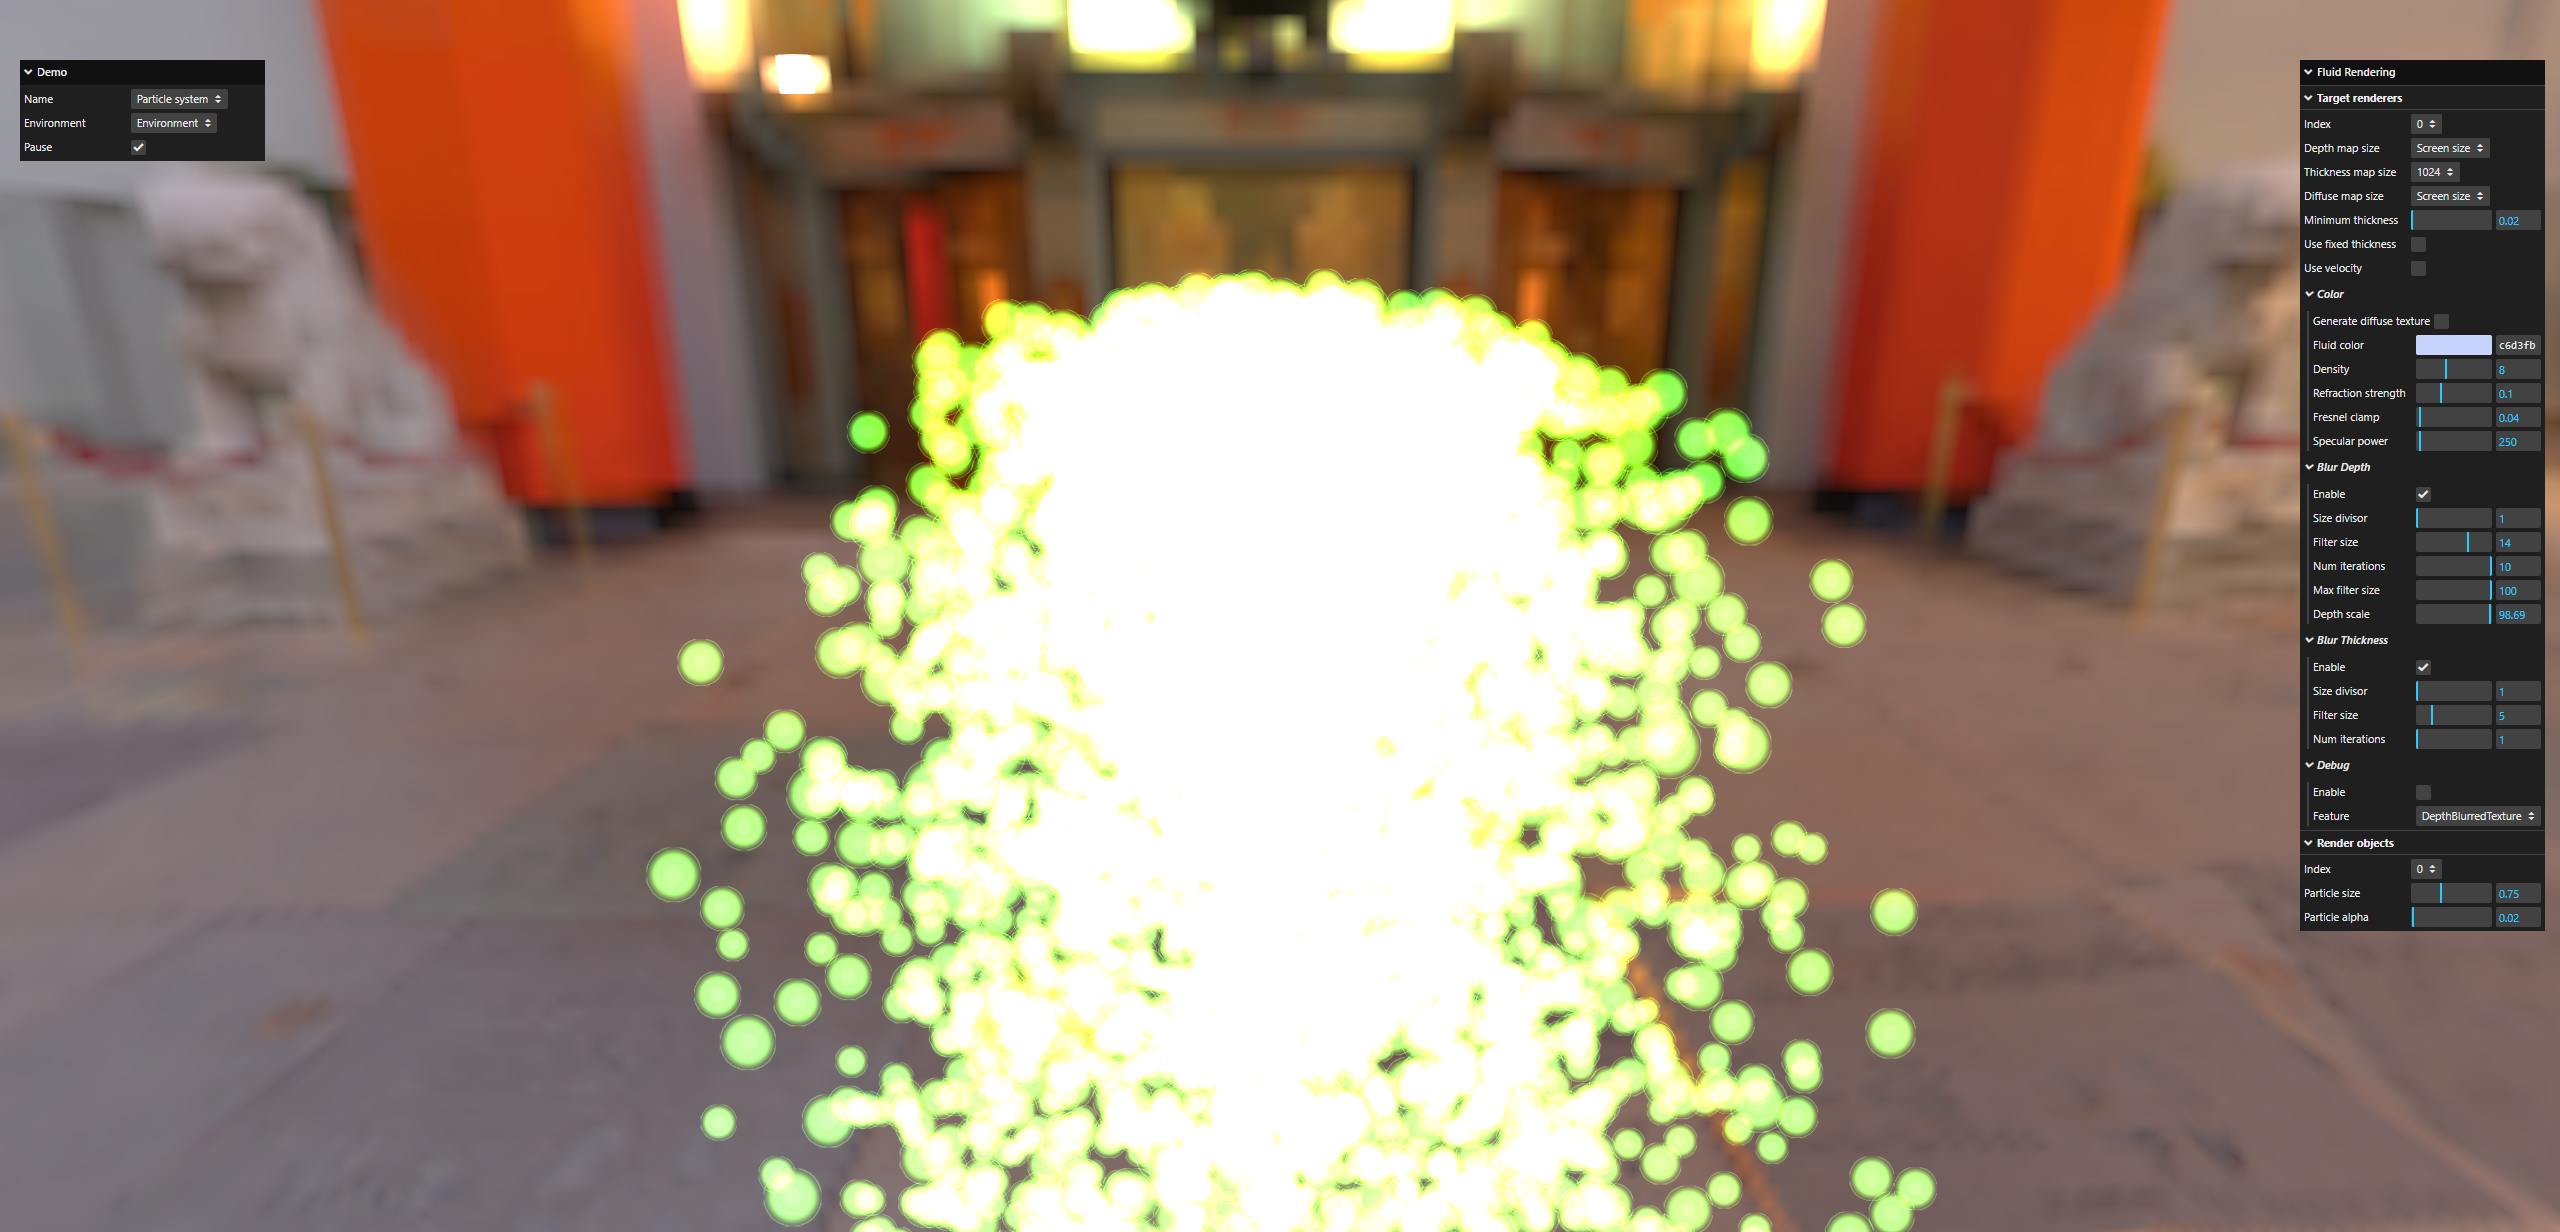 | The same particle system rendered as fluid 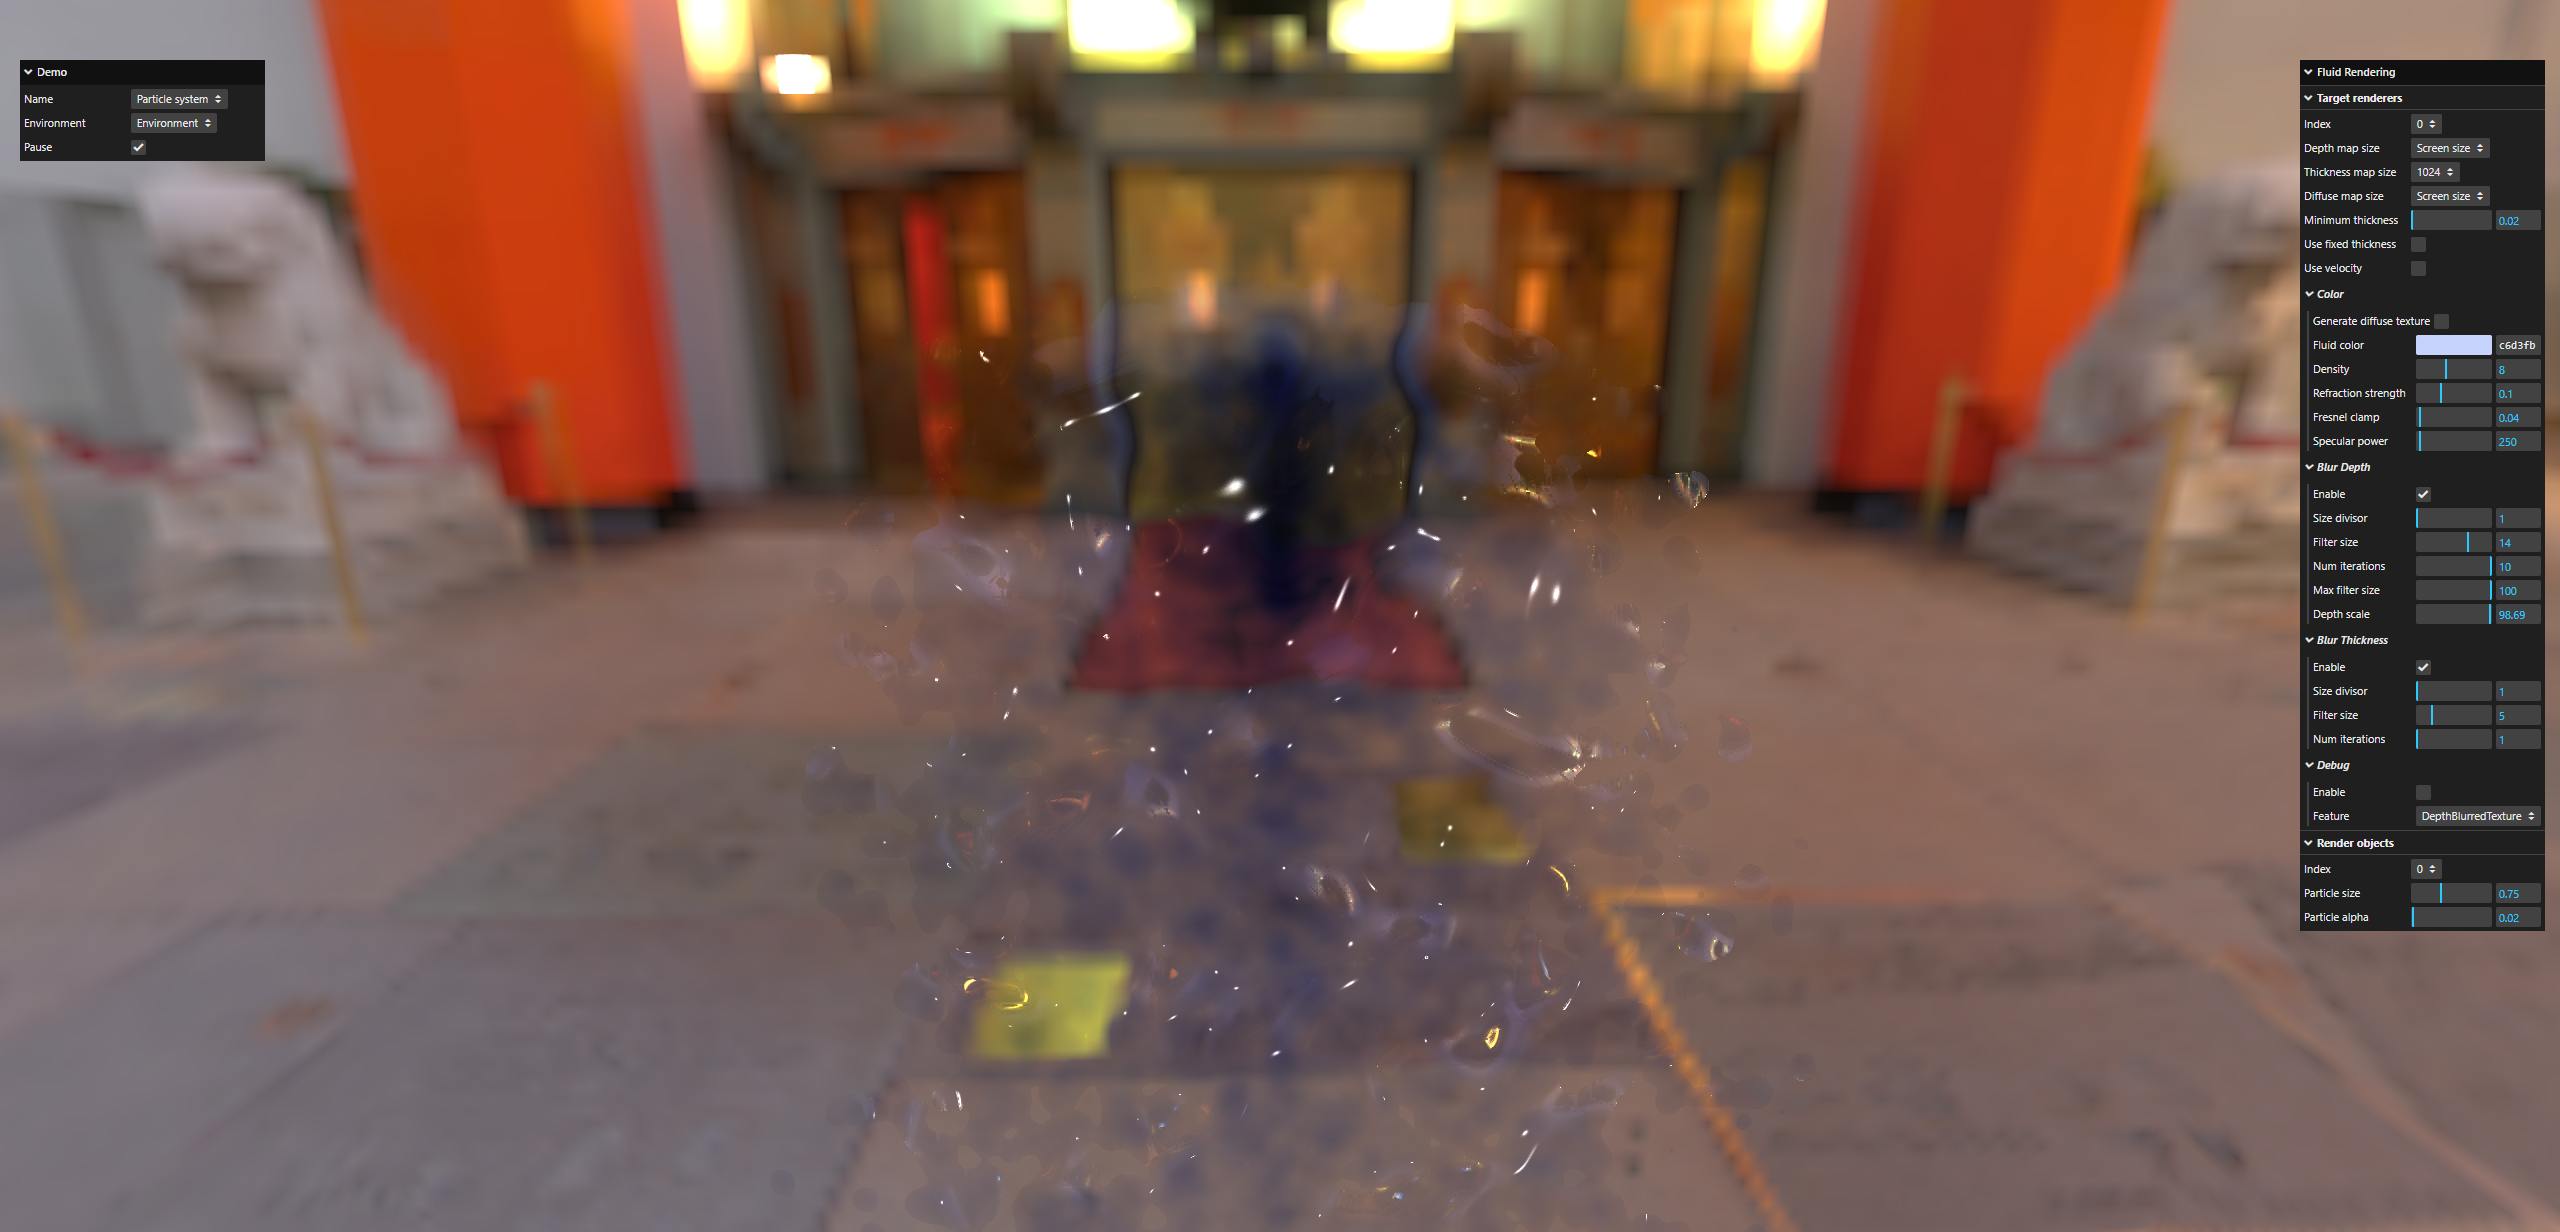 |
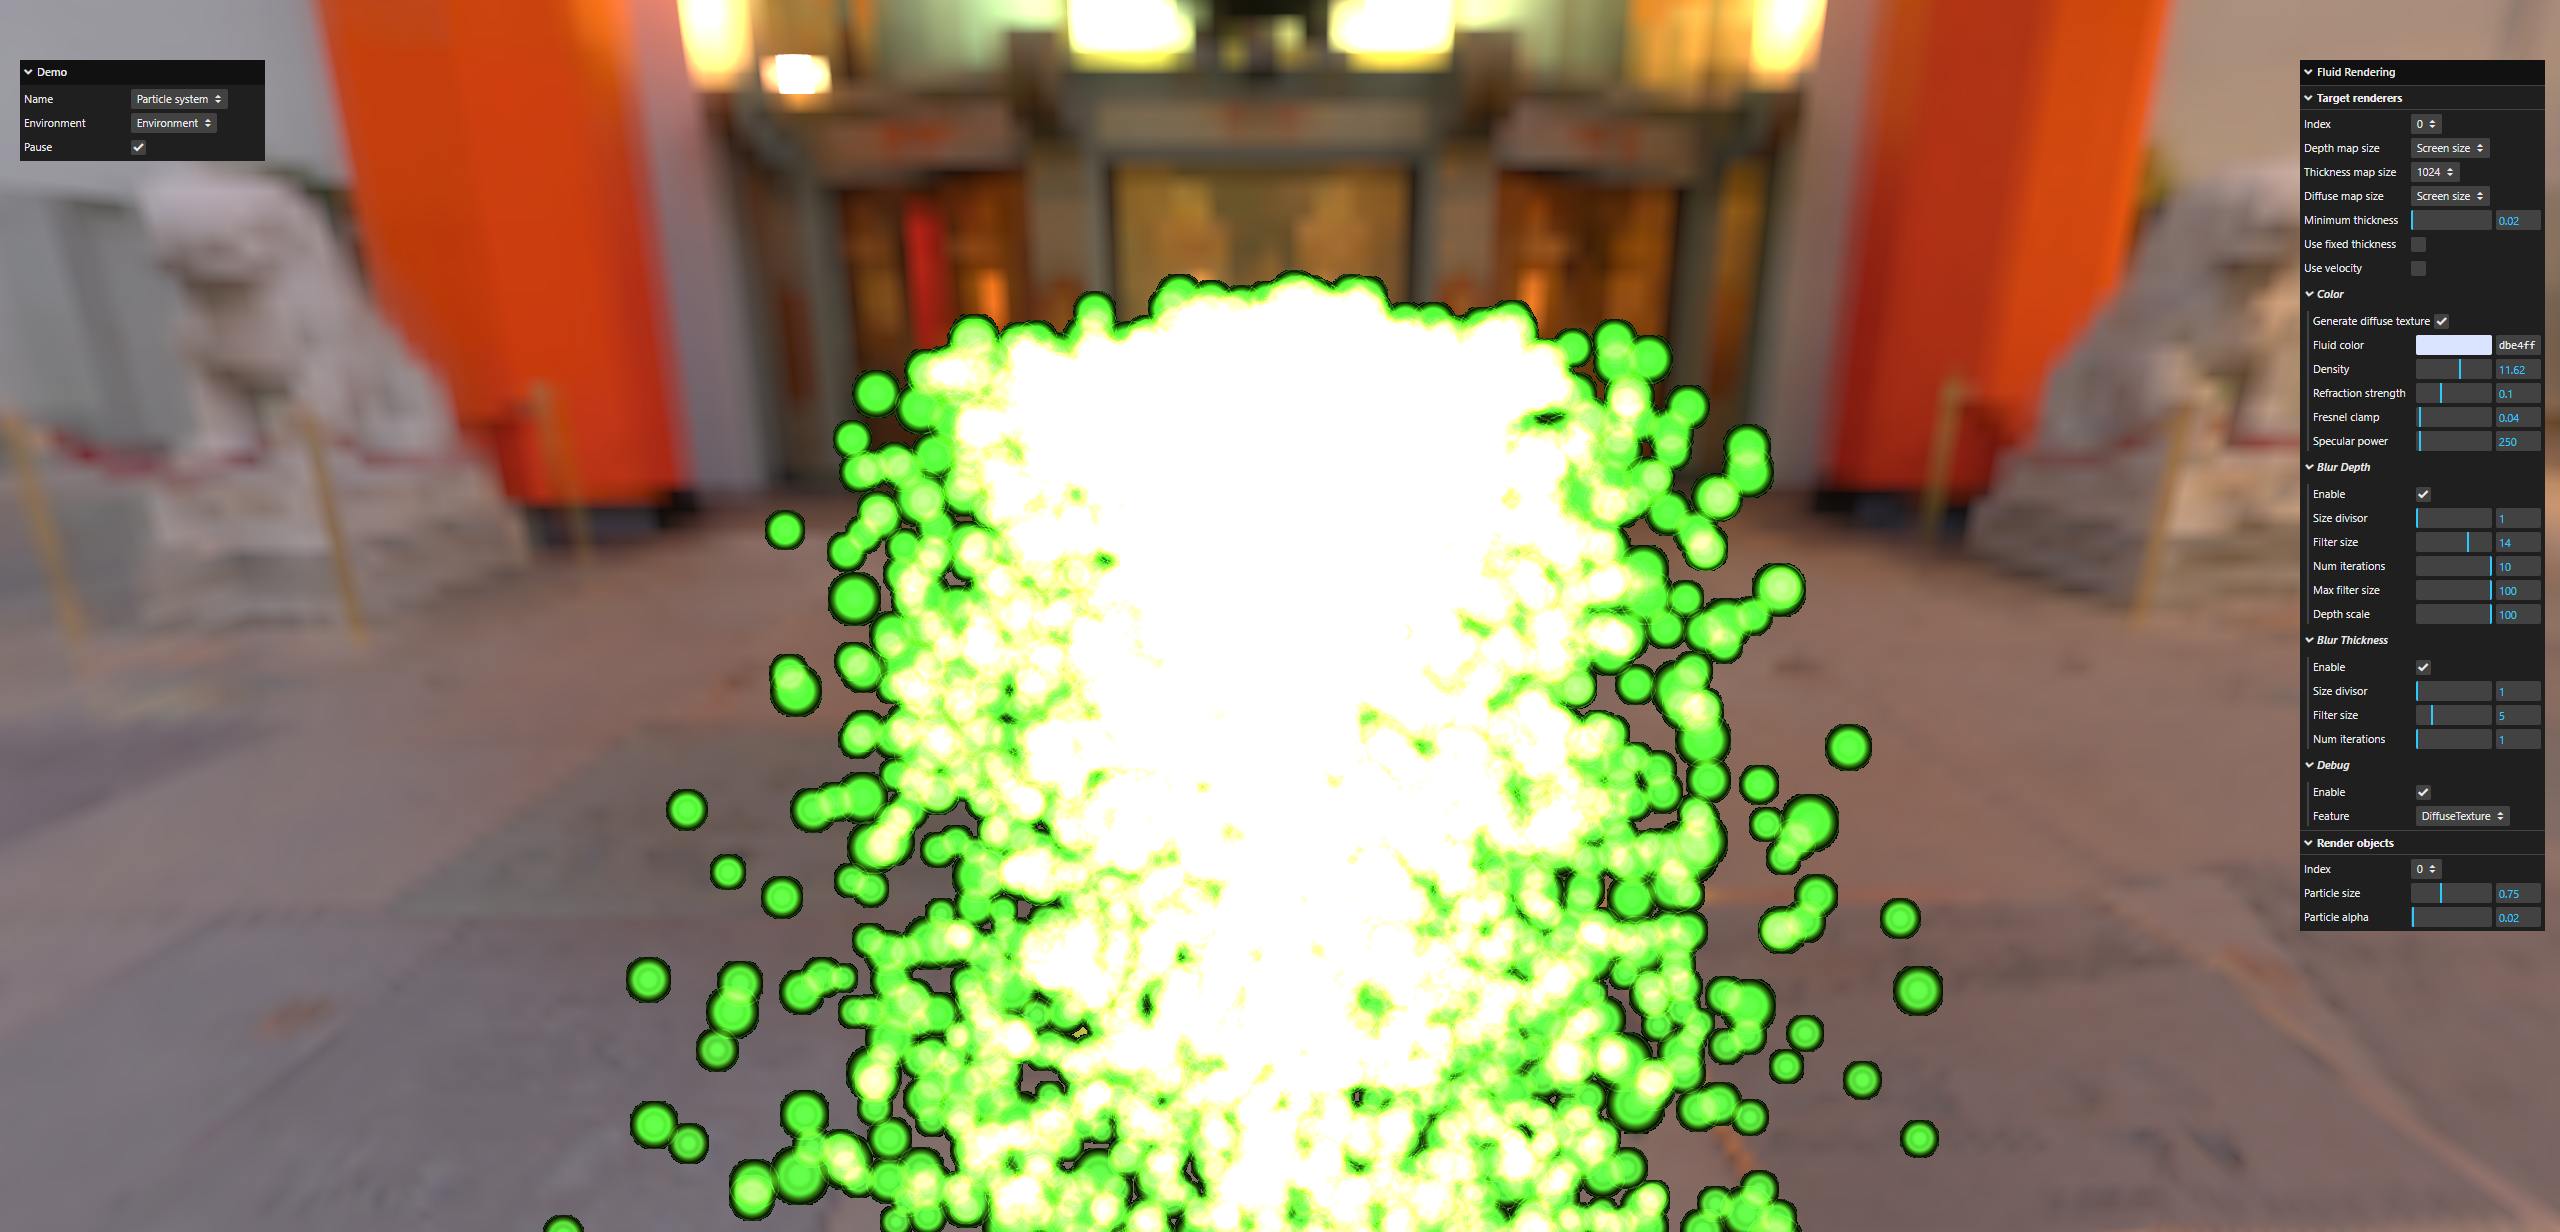
If you use the Generate Diffuse Texture parameter:
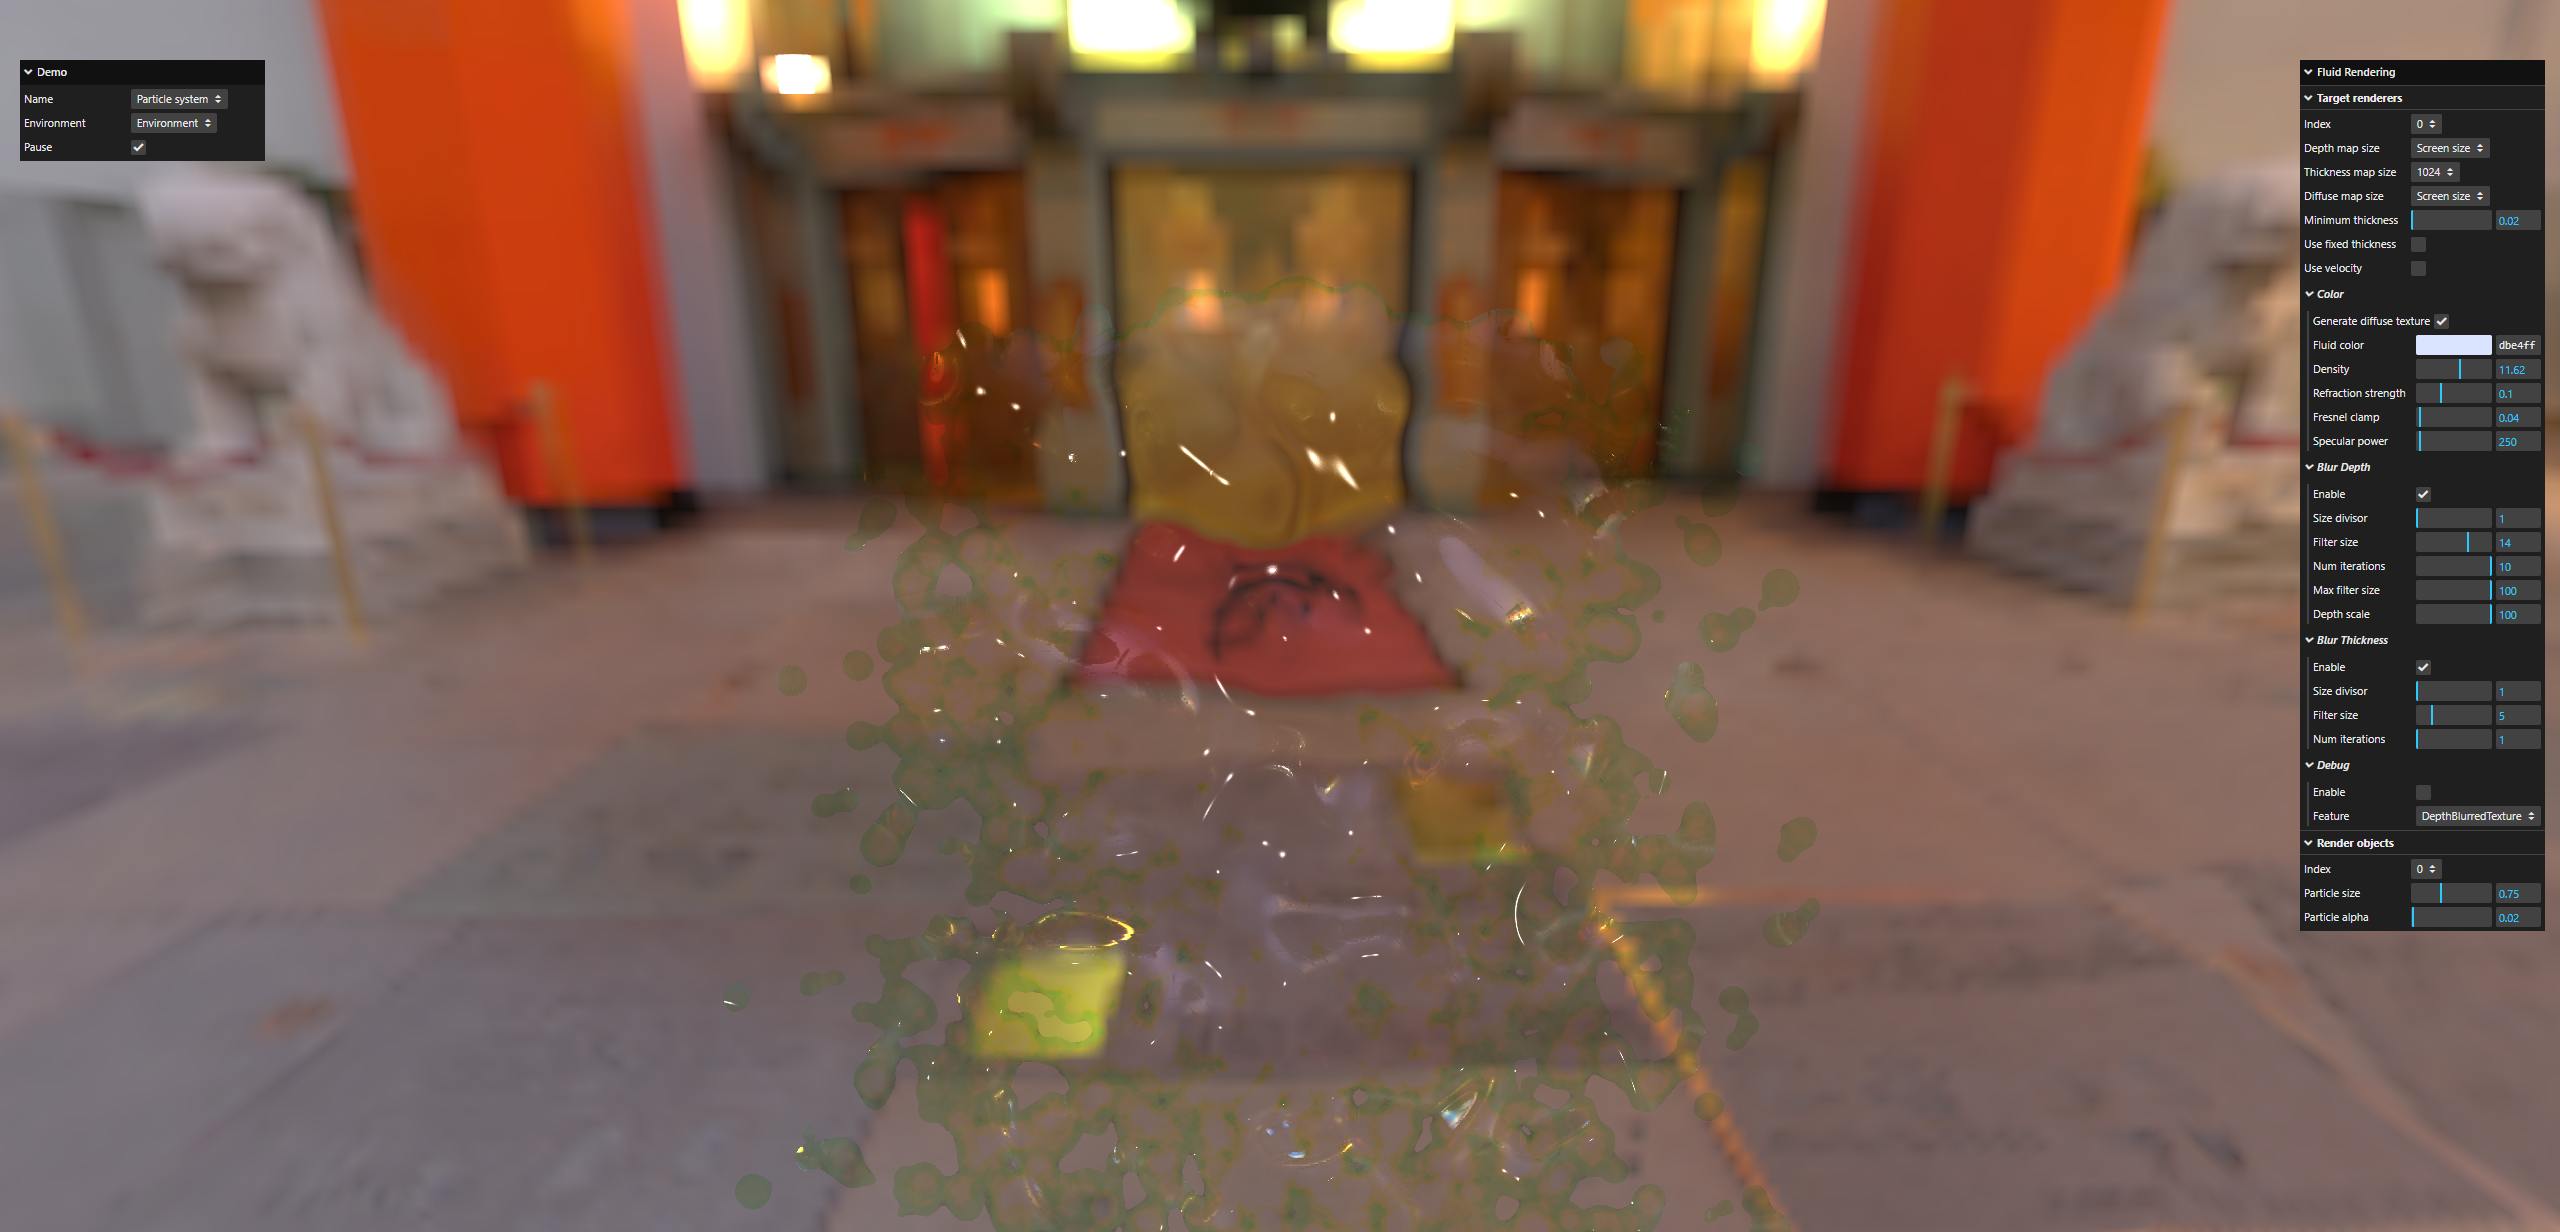
With the generated diffuse texture being:
Particle custom shape
Note: It may take a little while to load, please be patient.
This demo shows how to use fluidRenderer.addCustomParticles() to render the famous Dude as a list of particles and have the particles break down using a simple simulation (NOT a fluid simulation!).
Click the Start button to make the particles fall apart.
The particles are generated using the PointsCloudSystem class, which is also capable of generating vertex colors, so the Generate diffuse texture function is enabled by default in this demo.
Starting position:

Image towards the end of the demo :

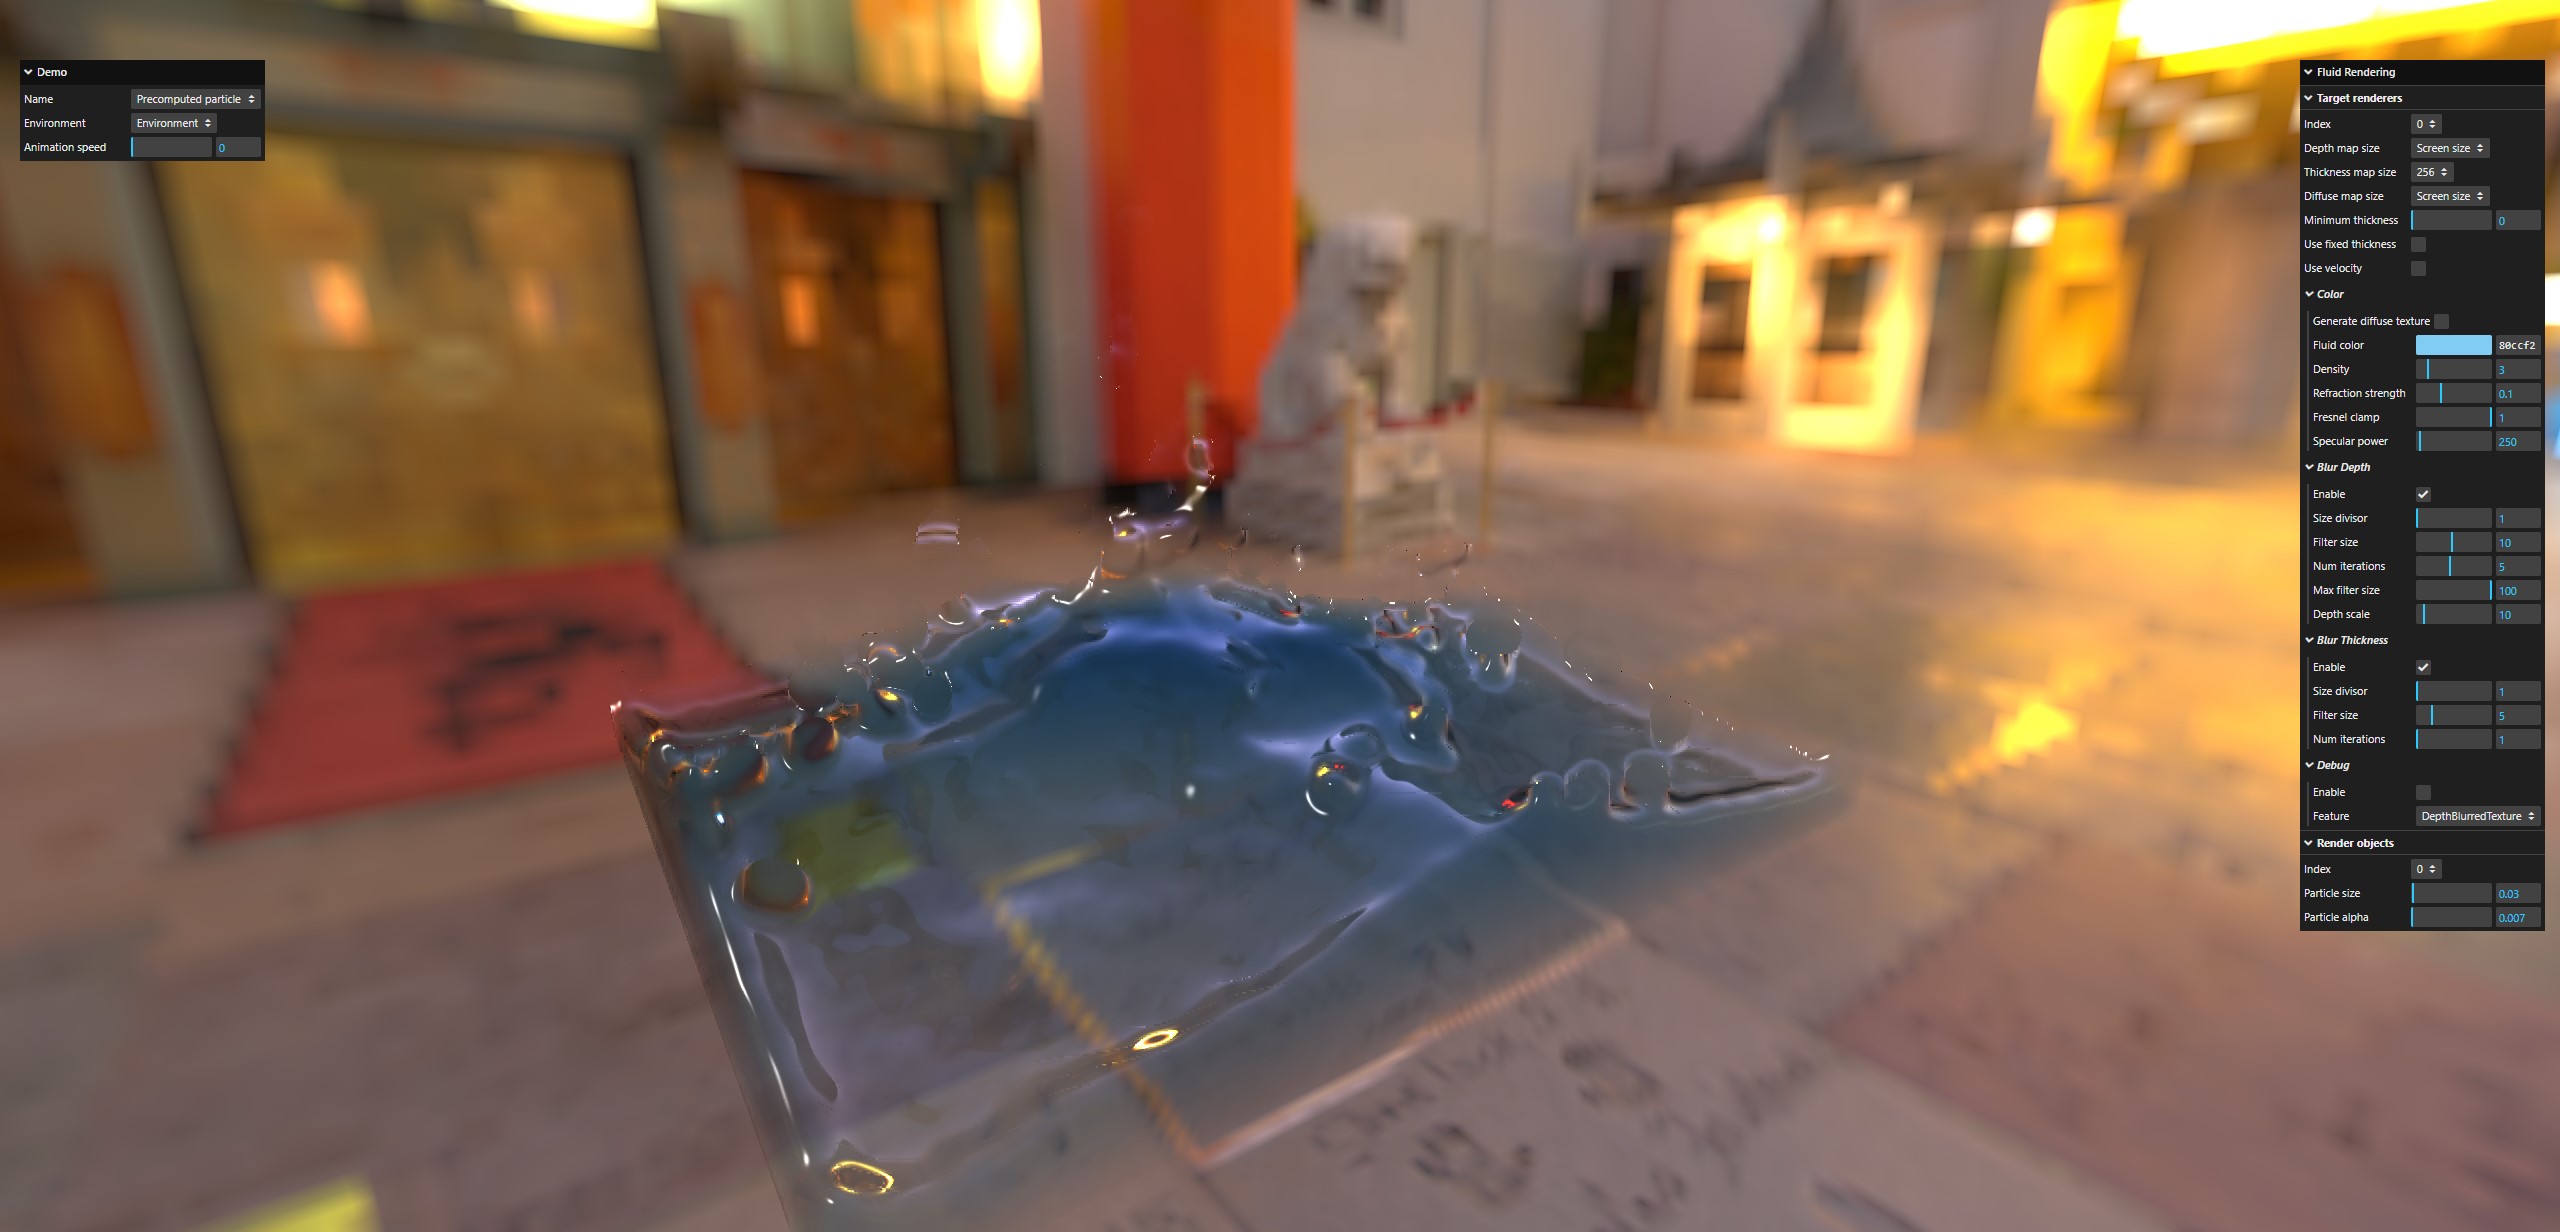
Pre-computed particles - rendering only
This demo shows a precomputed animation of about 70000 particles. The precomputed particle positions come from https://github.com/ttnghia/RealTimeFluidRendering/releases/tag/Datasets (SphereDropGround dataset).
Note:
- the position files have been optimized to be smaller and have been compressed into a single zip file. As such, the quality is not the best you can get because of the quantization used to make the files smaller (especially visible at the end of the animation, when the liquid does not fluctuate much). However, it does allow the demo to load very quickly.
- if you want to get the best quality, search for
_readZippedand set it tofalse.
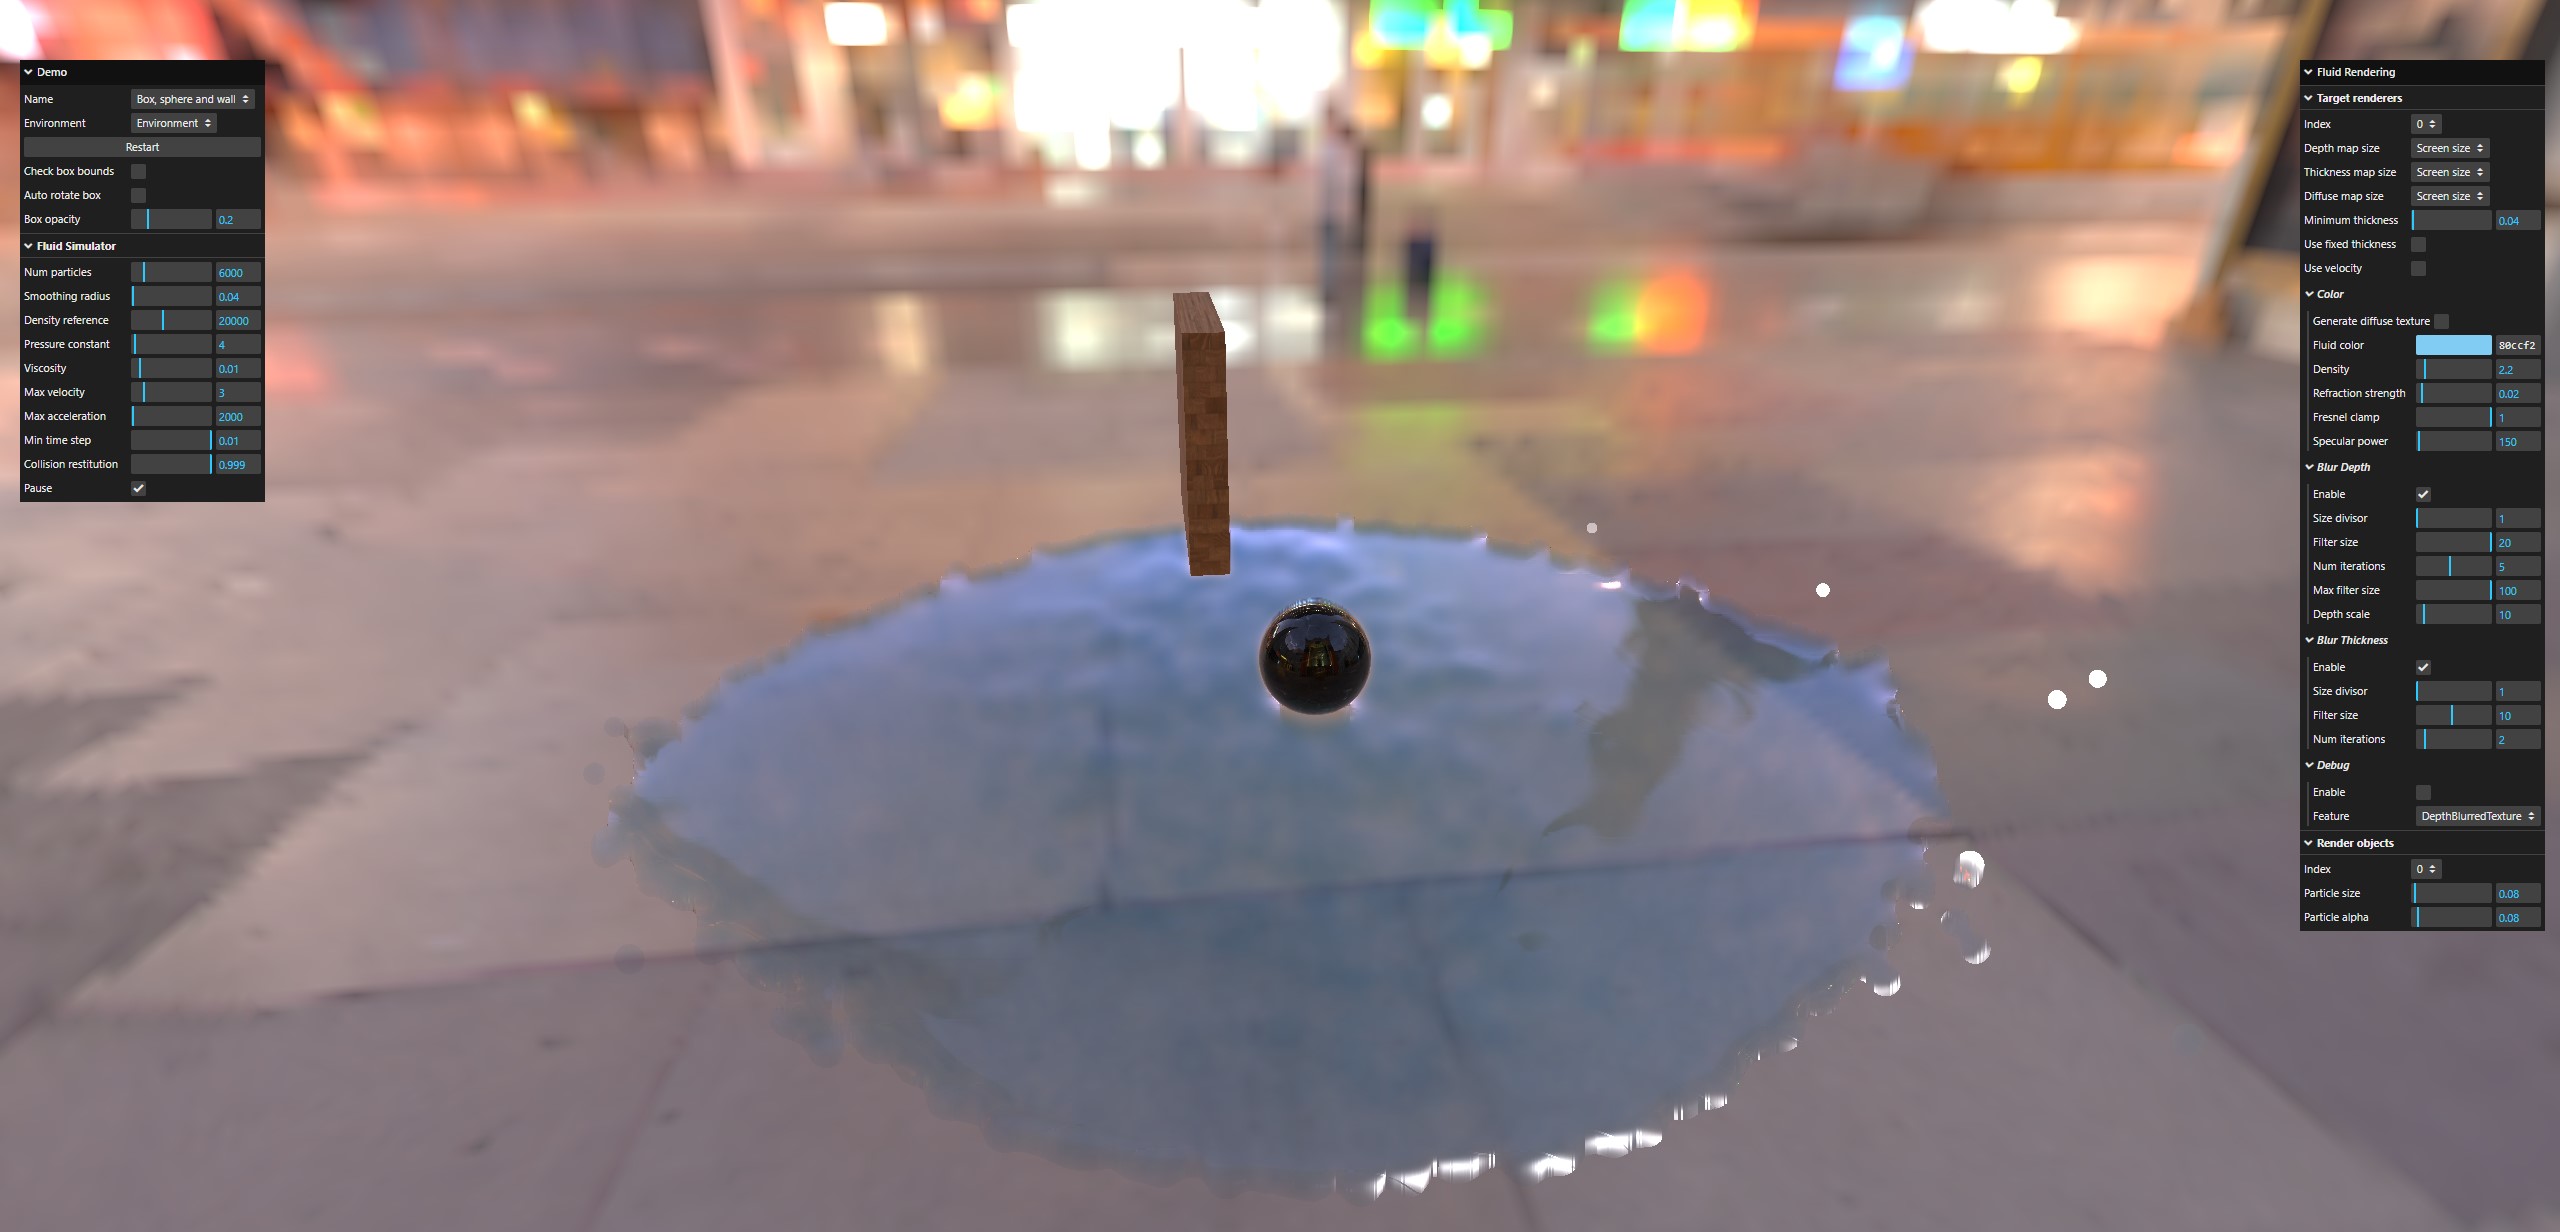
Box, sphere and wall
This demo is the first to use a basic fluid simulator to simulate fluid movement (see the FluidSimulator class in the PG). Since the simulation is run in javascript, only a few thousand particles (at most, it depends on the power of your computer) can be simulated, hence the relatively large size of these particles.
The wall and the sphere can be moved with the mouse. You can also rotate the box using the cursor keys (click on the screen first to focus on the scene!) You can also play with the Check box bounds and Auto rotate box settings.
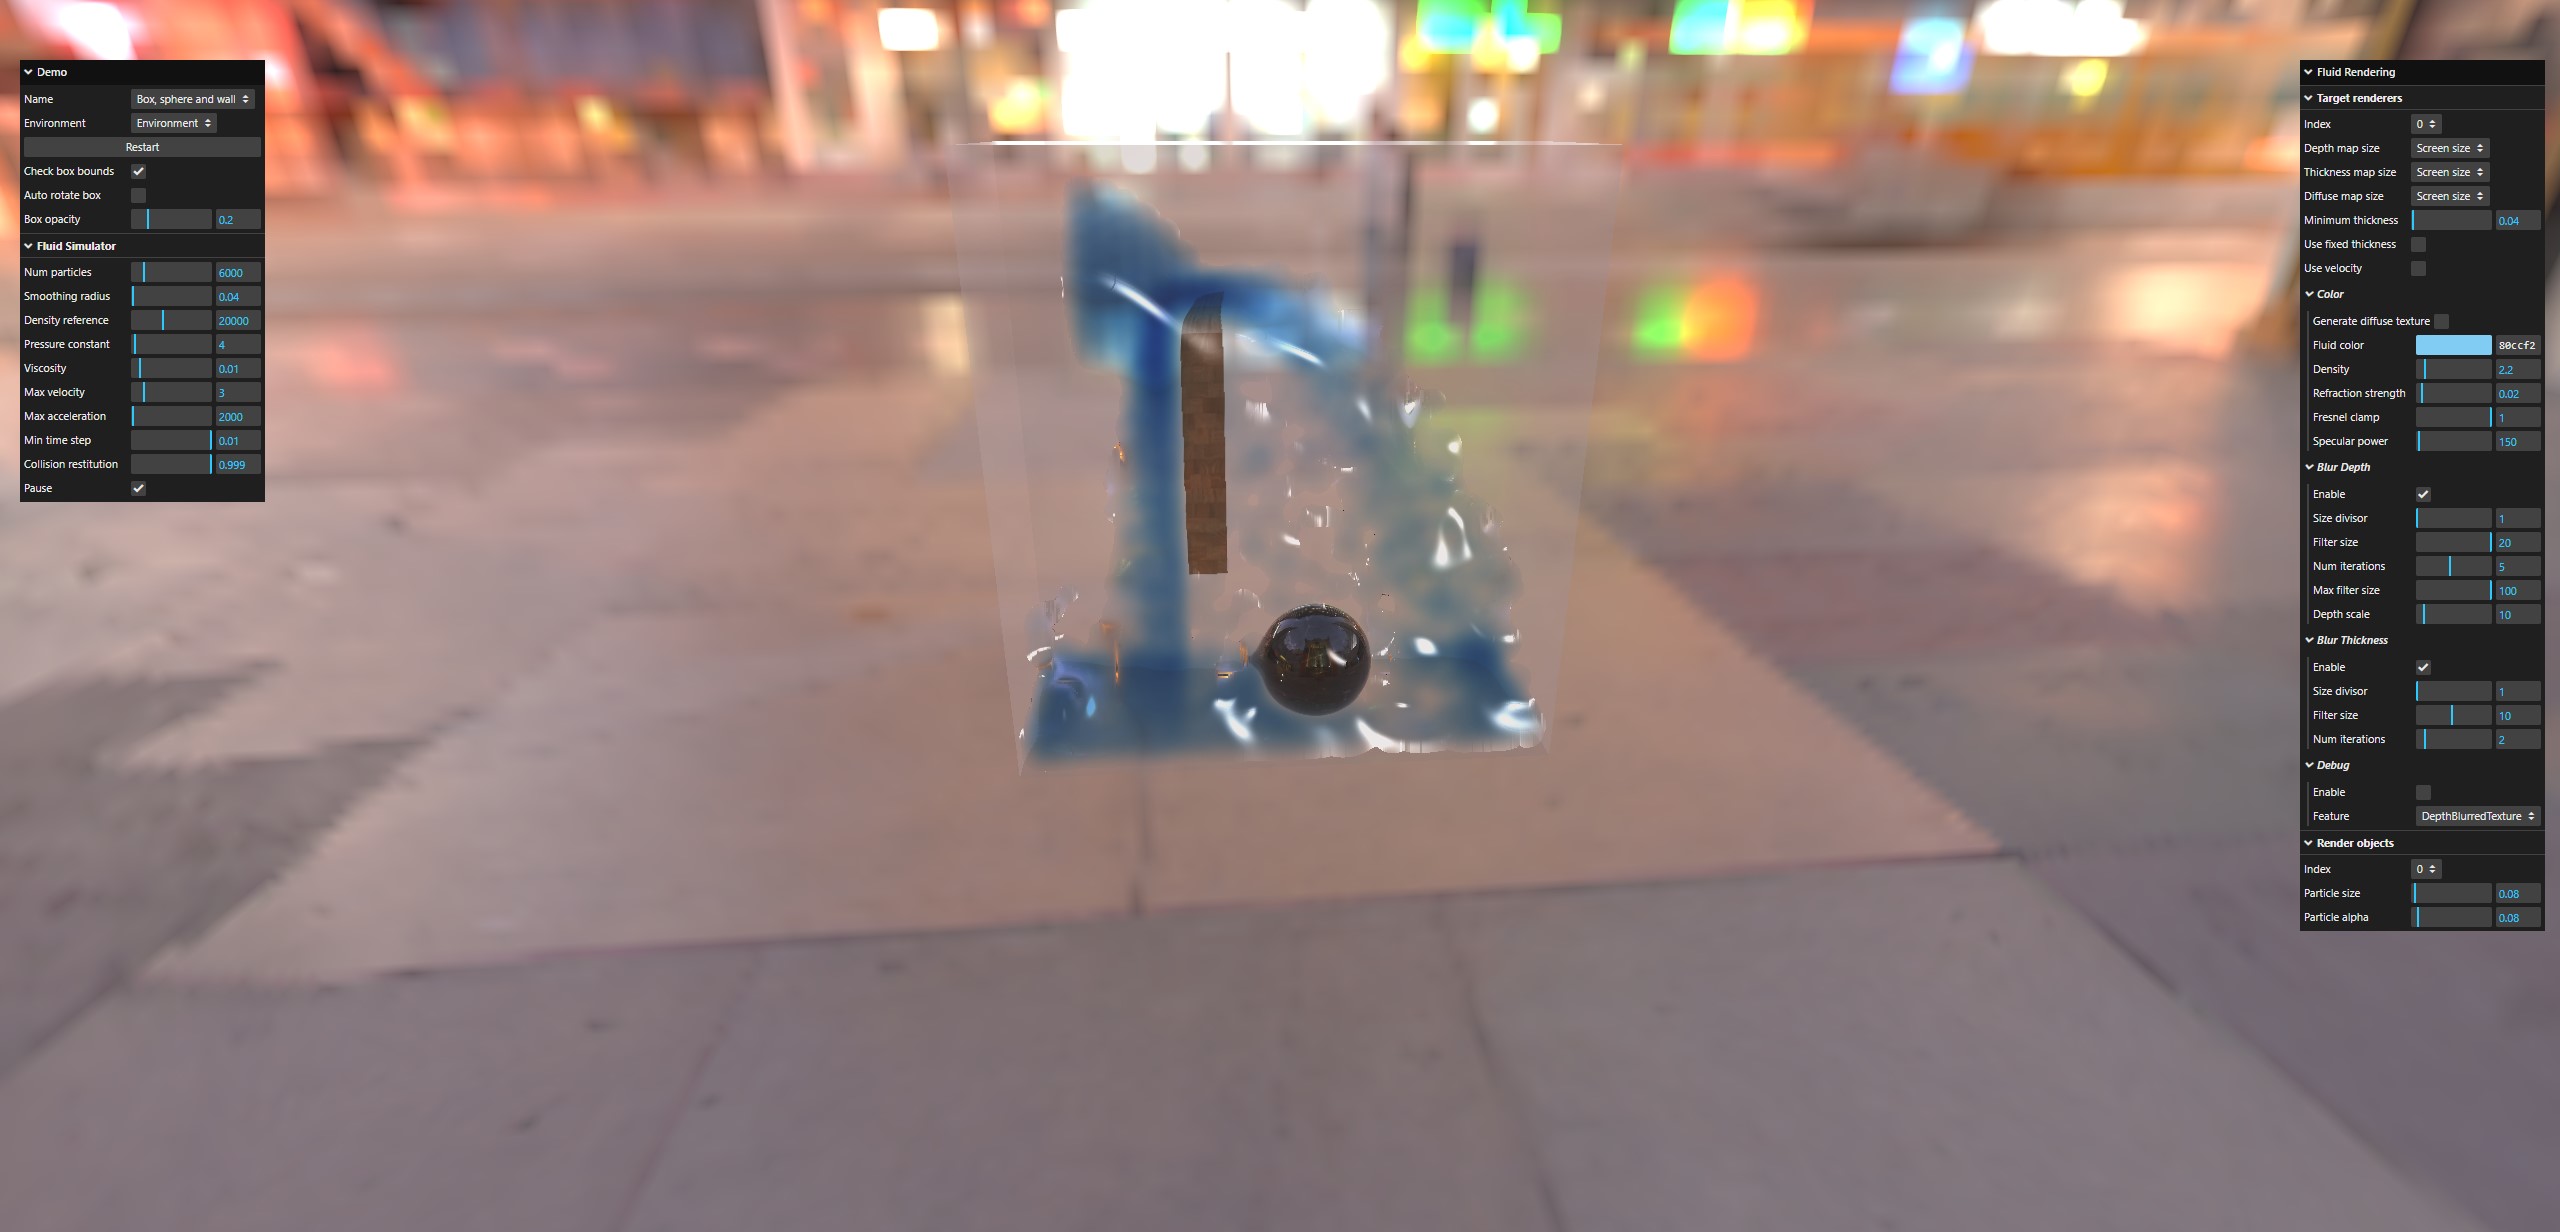
Check box bounds not checked:
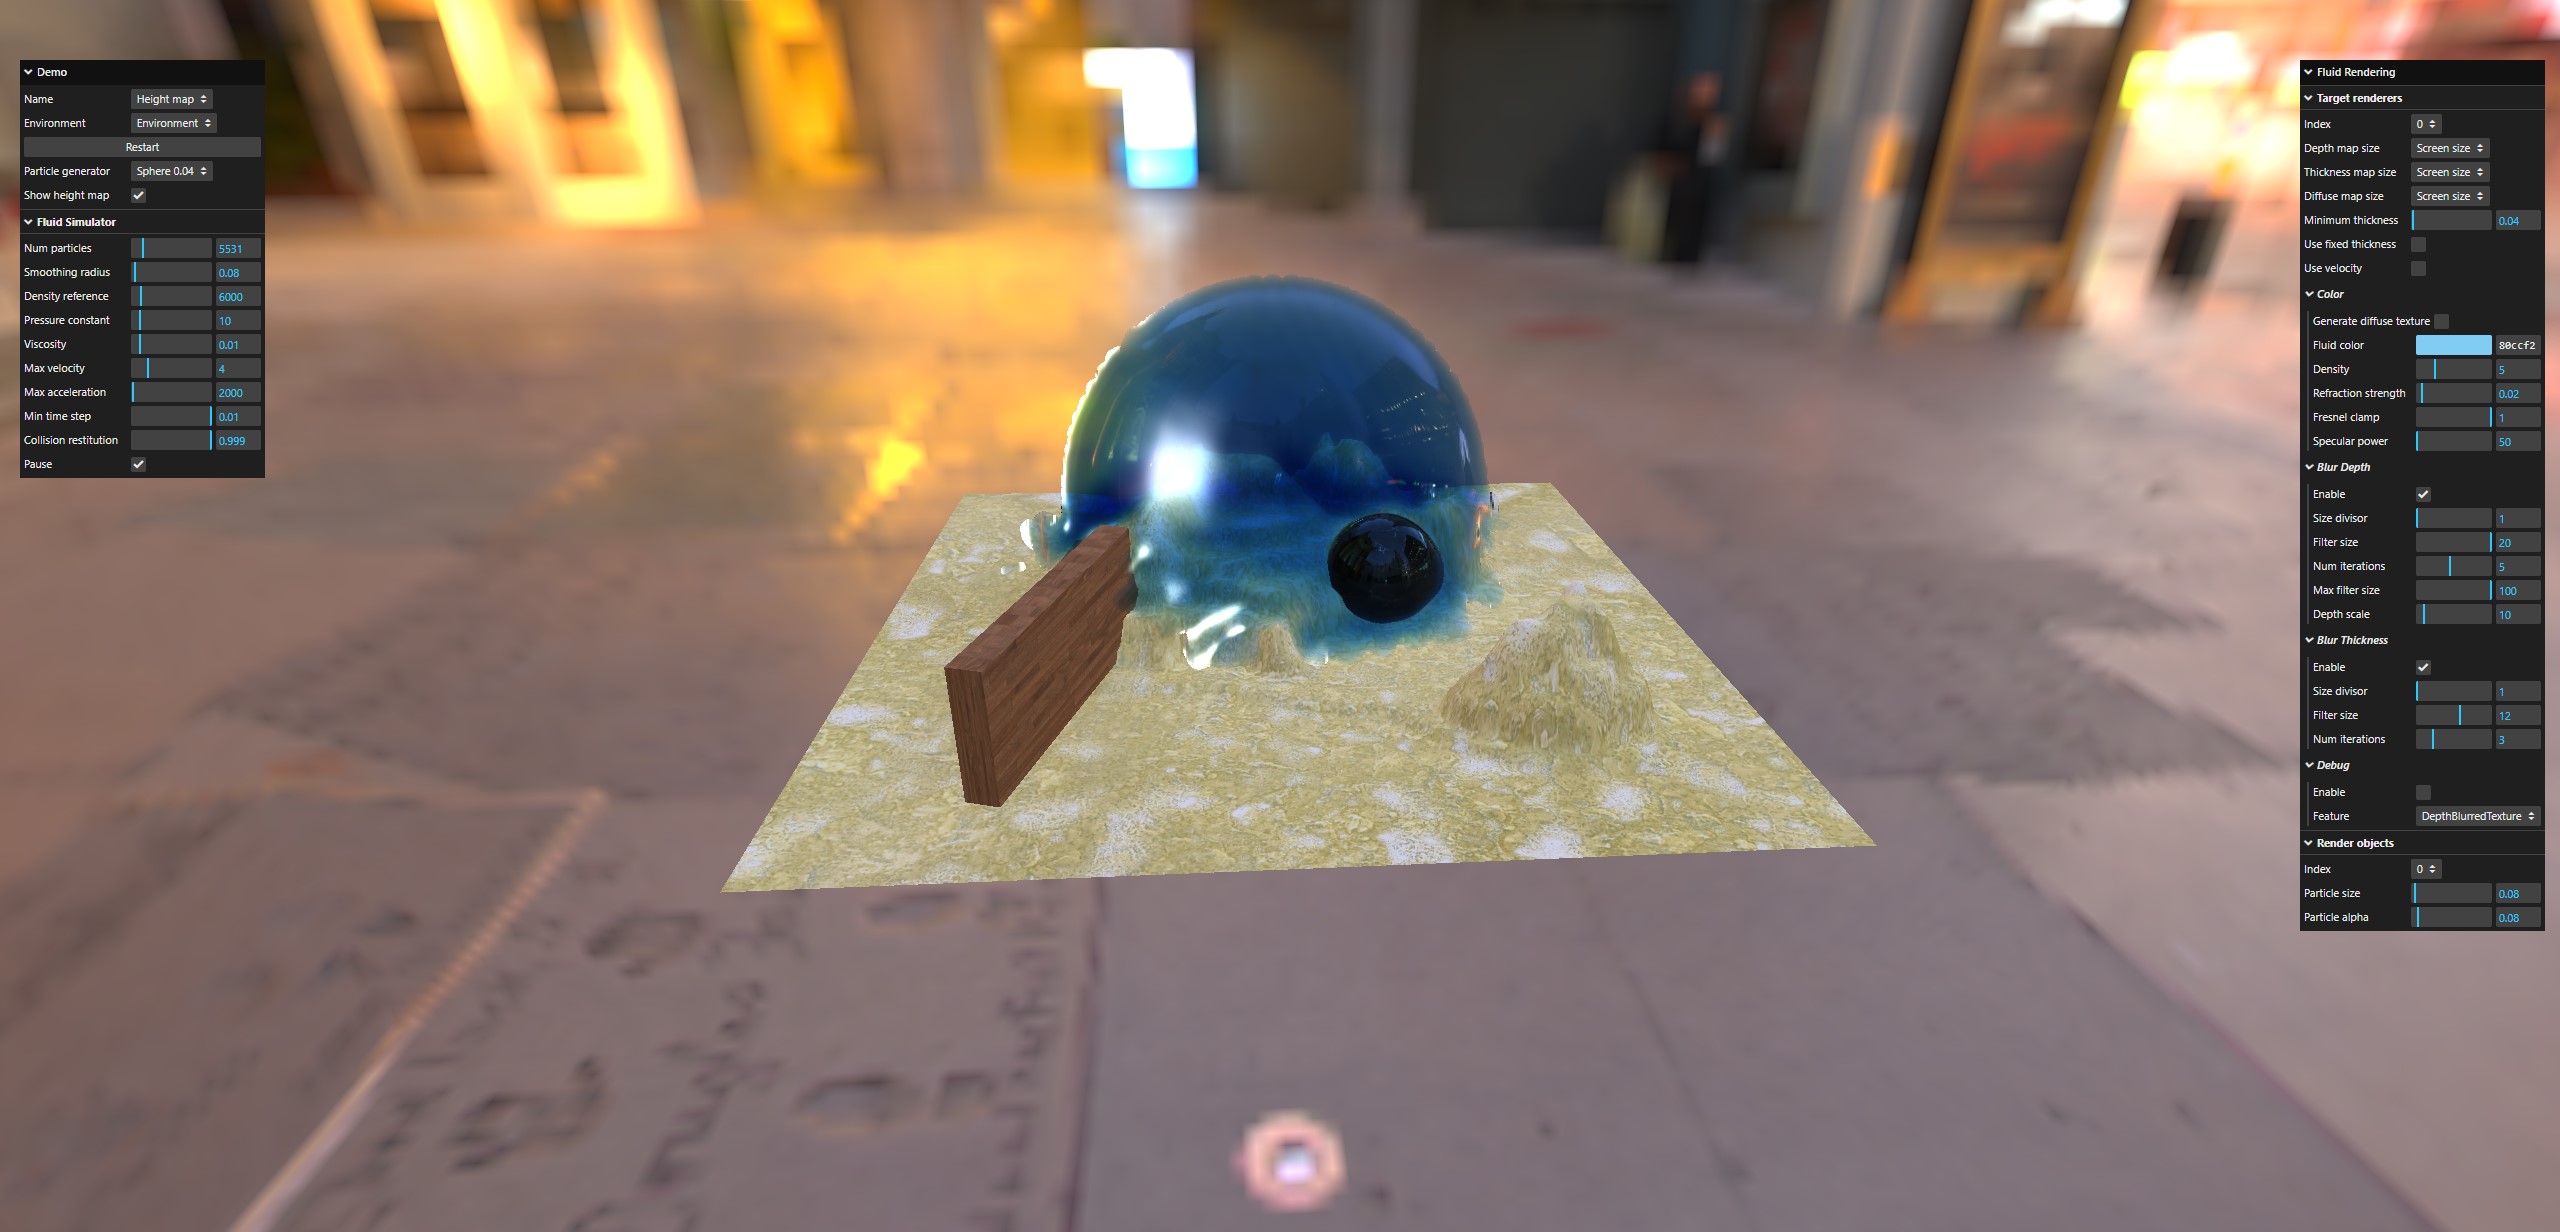
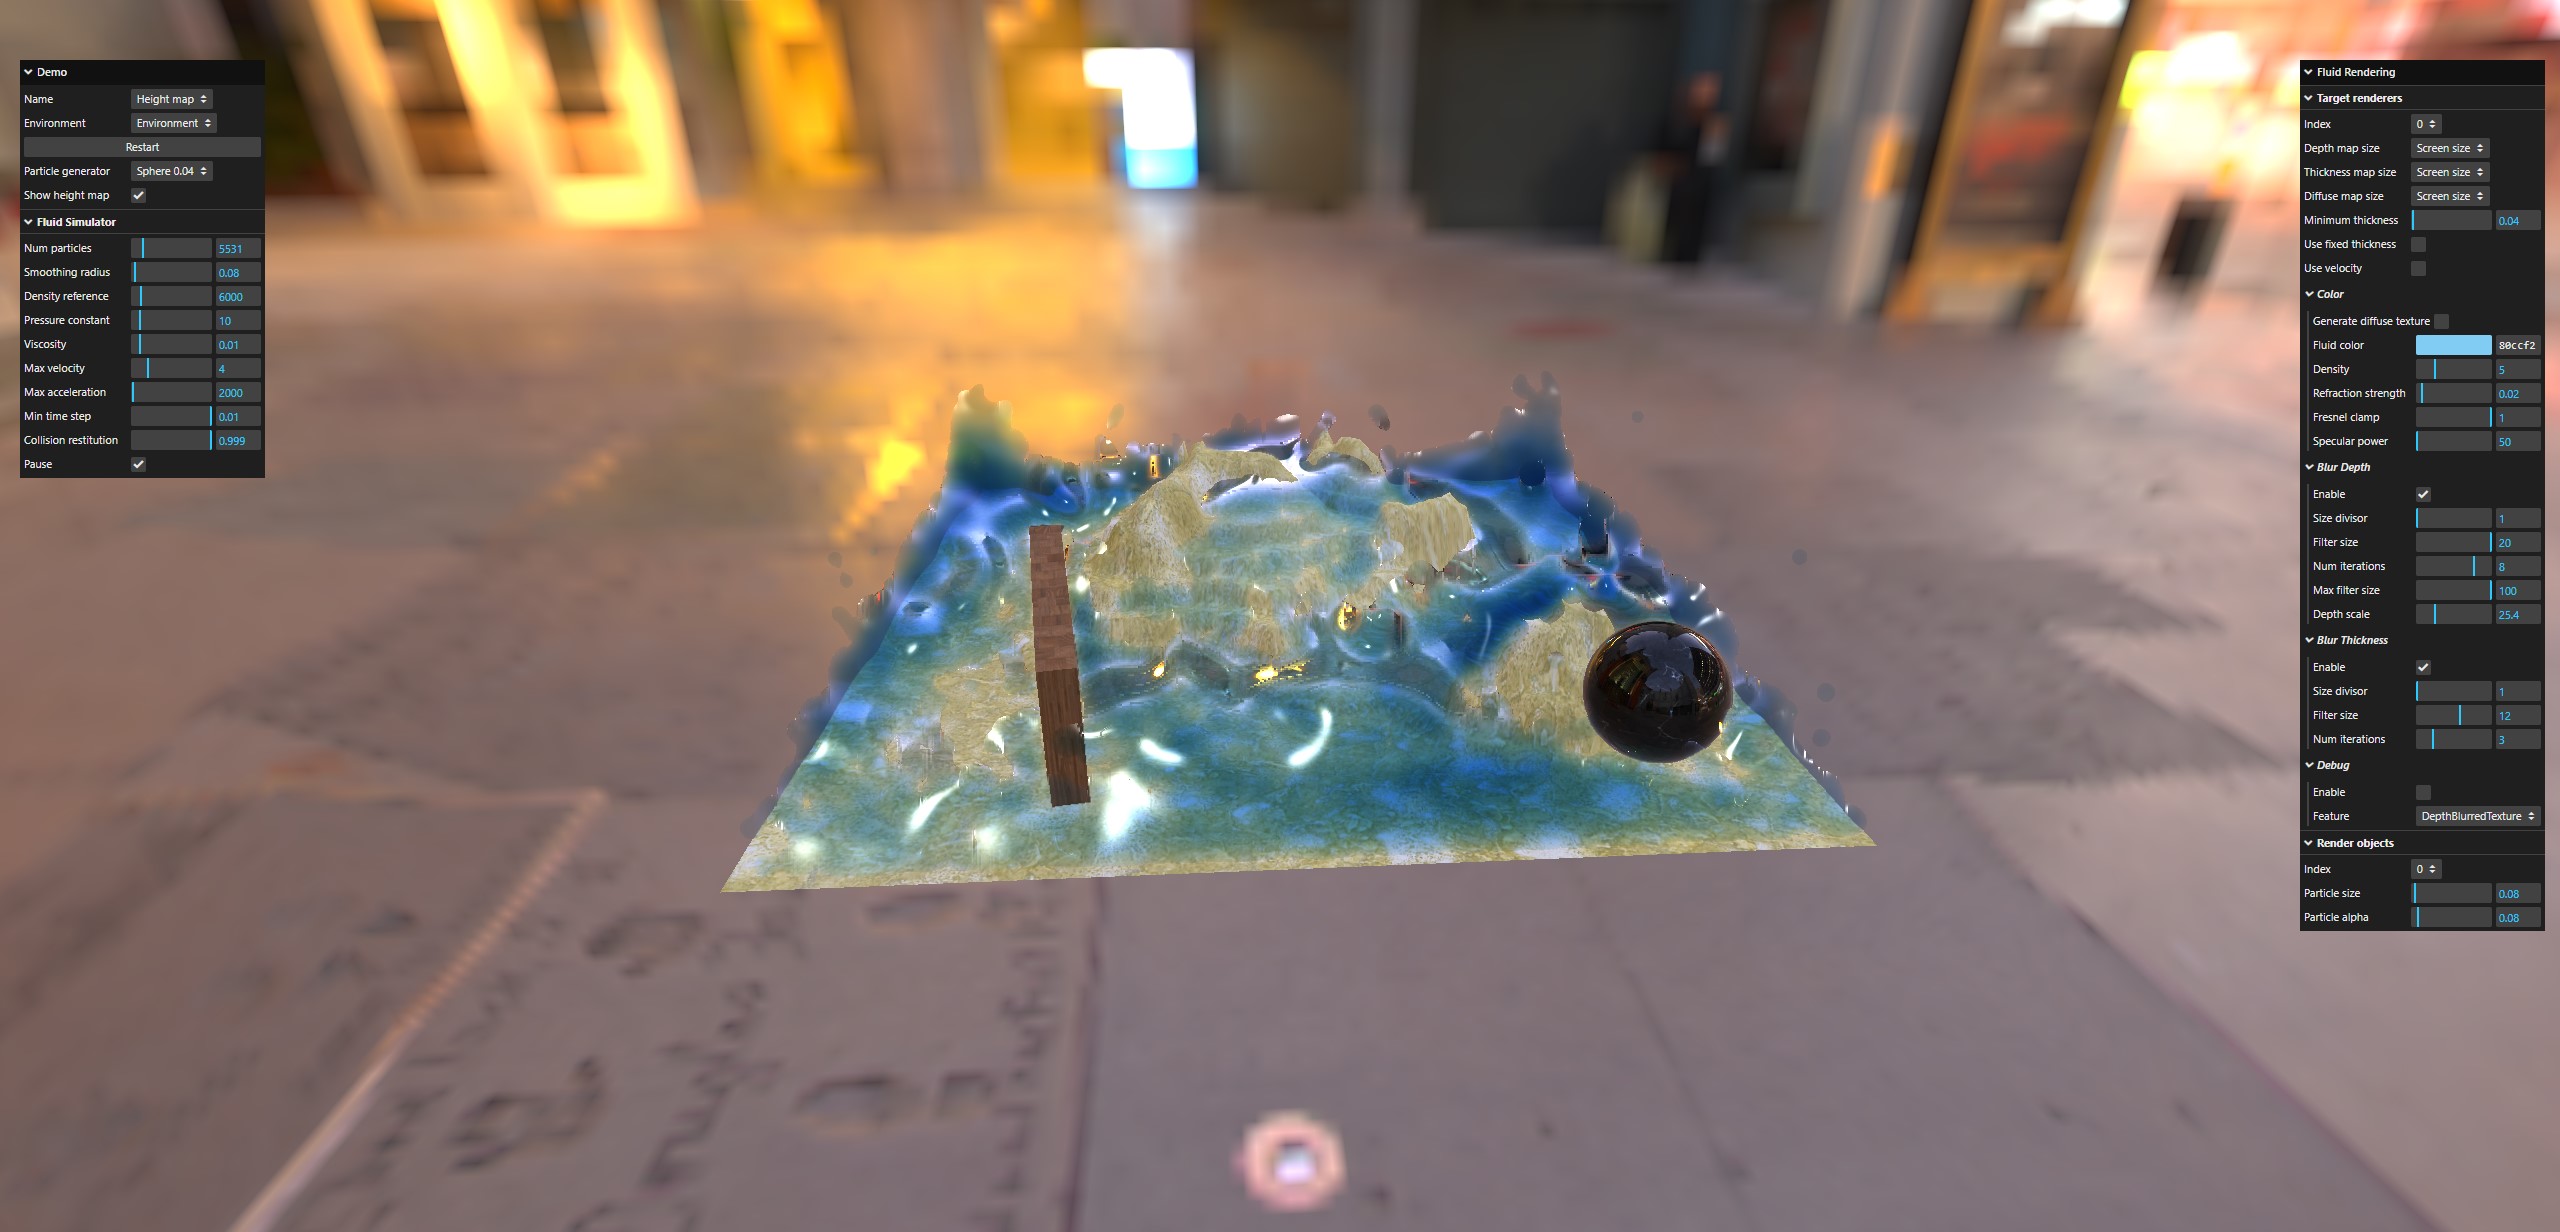
Height map
Note: the terrain may take a little time to load, please be patient.
This demo demonstrates the use of a height map as a collision object, in addition to the wall and sphere from the previous demo (you can only drag the wall in this demo, the sphere is moved automatically).
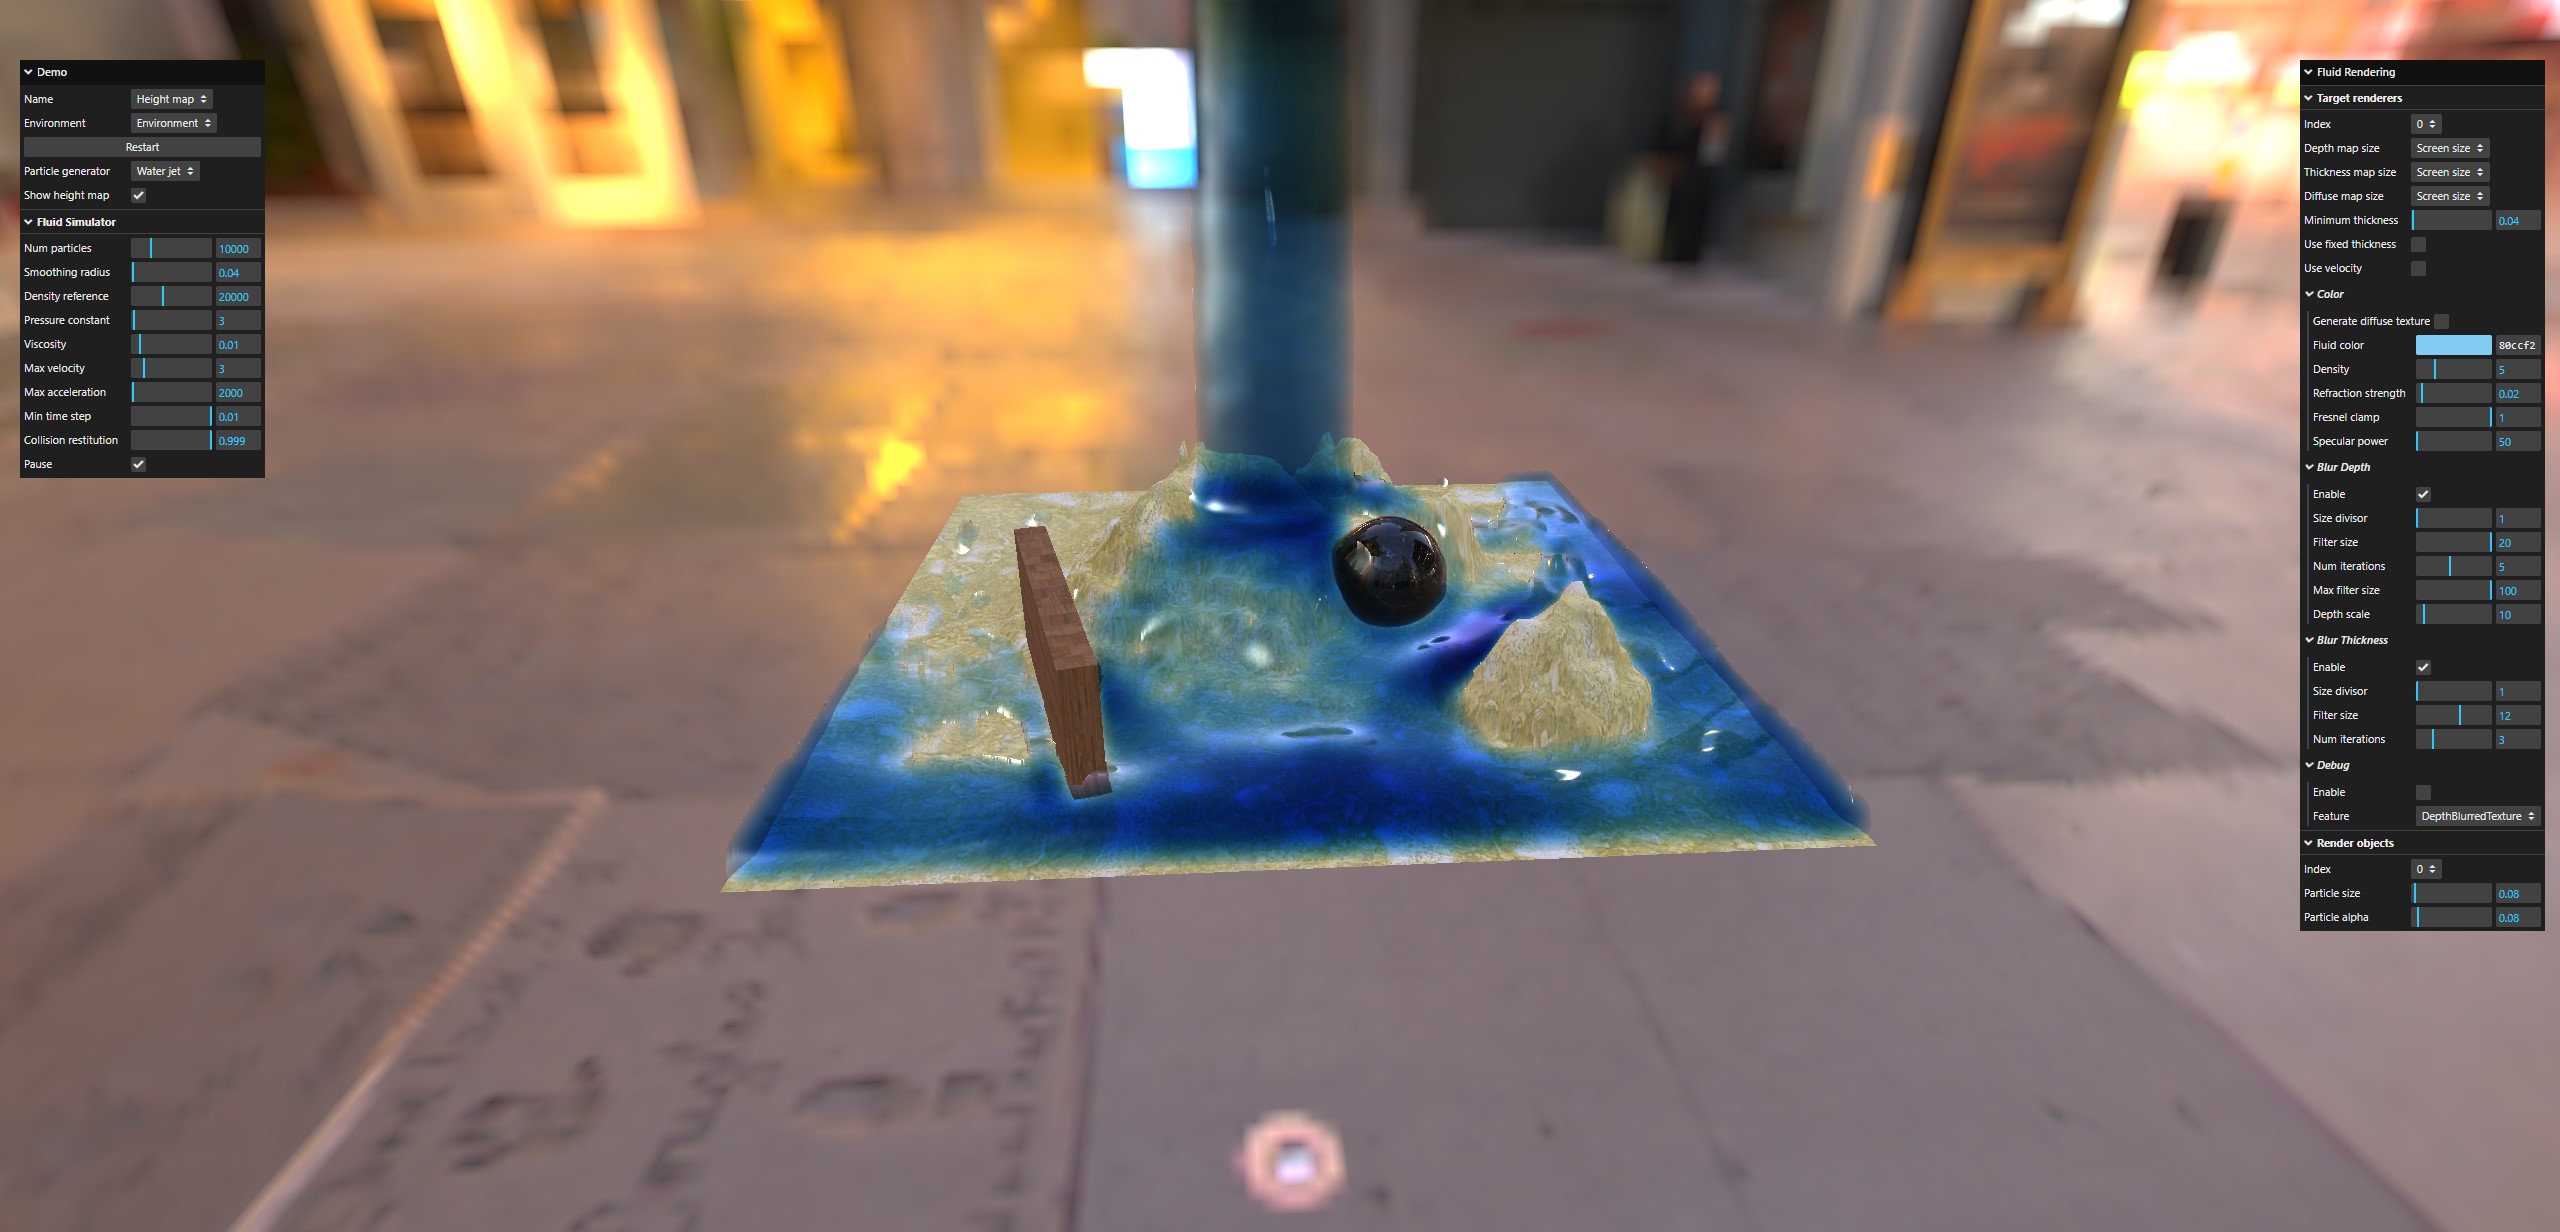
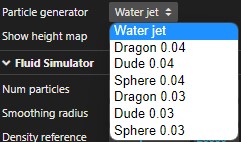
Instead of a basic water jet, you can inject particles according to some predefined shapes:
Notes:
- these shapes were generated offline using SPlisHSPlasH Volume Sampler
- the typical command line (used to generate Dragon 0.04):
.\VolumeSampling.exe -i .\Dragon_50k.obj -o Dragon_50k.vtk --viscosity 0.05 -r 0.04 -s "2.5 2.5 2.5" - Then, ParaView was used to load the .vtk file produced by the above command line and to generate the .txt file that you can find at
https://github.com/Popov72/FluidRendering/tree/main/src/assets/particles. For example: Dragon 0.04
The values 0.03 / 0.04 in the names are the particle sizes used to generate the shapes. The smaller the value, the more particles the object has. For example, Dragon 0.04 has 4507 particles, but Dragon 0.03 has 10625. Even on a fast computer, you probably won't be able to run at 60fps using the 0.03 flavors...
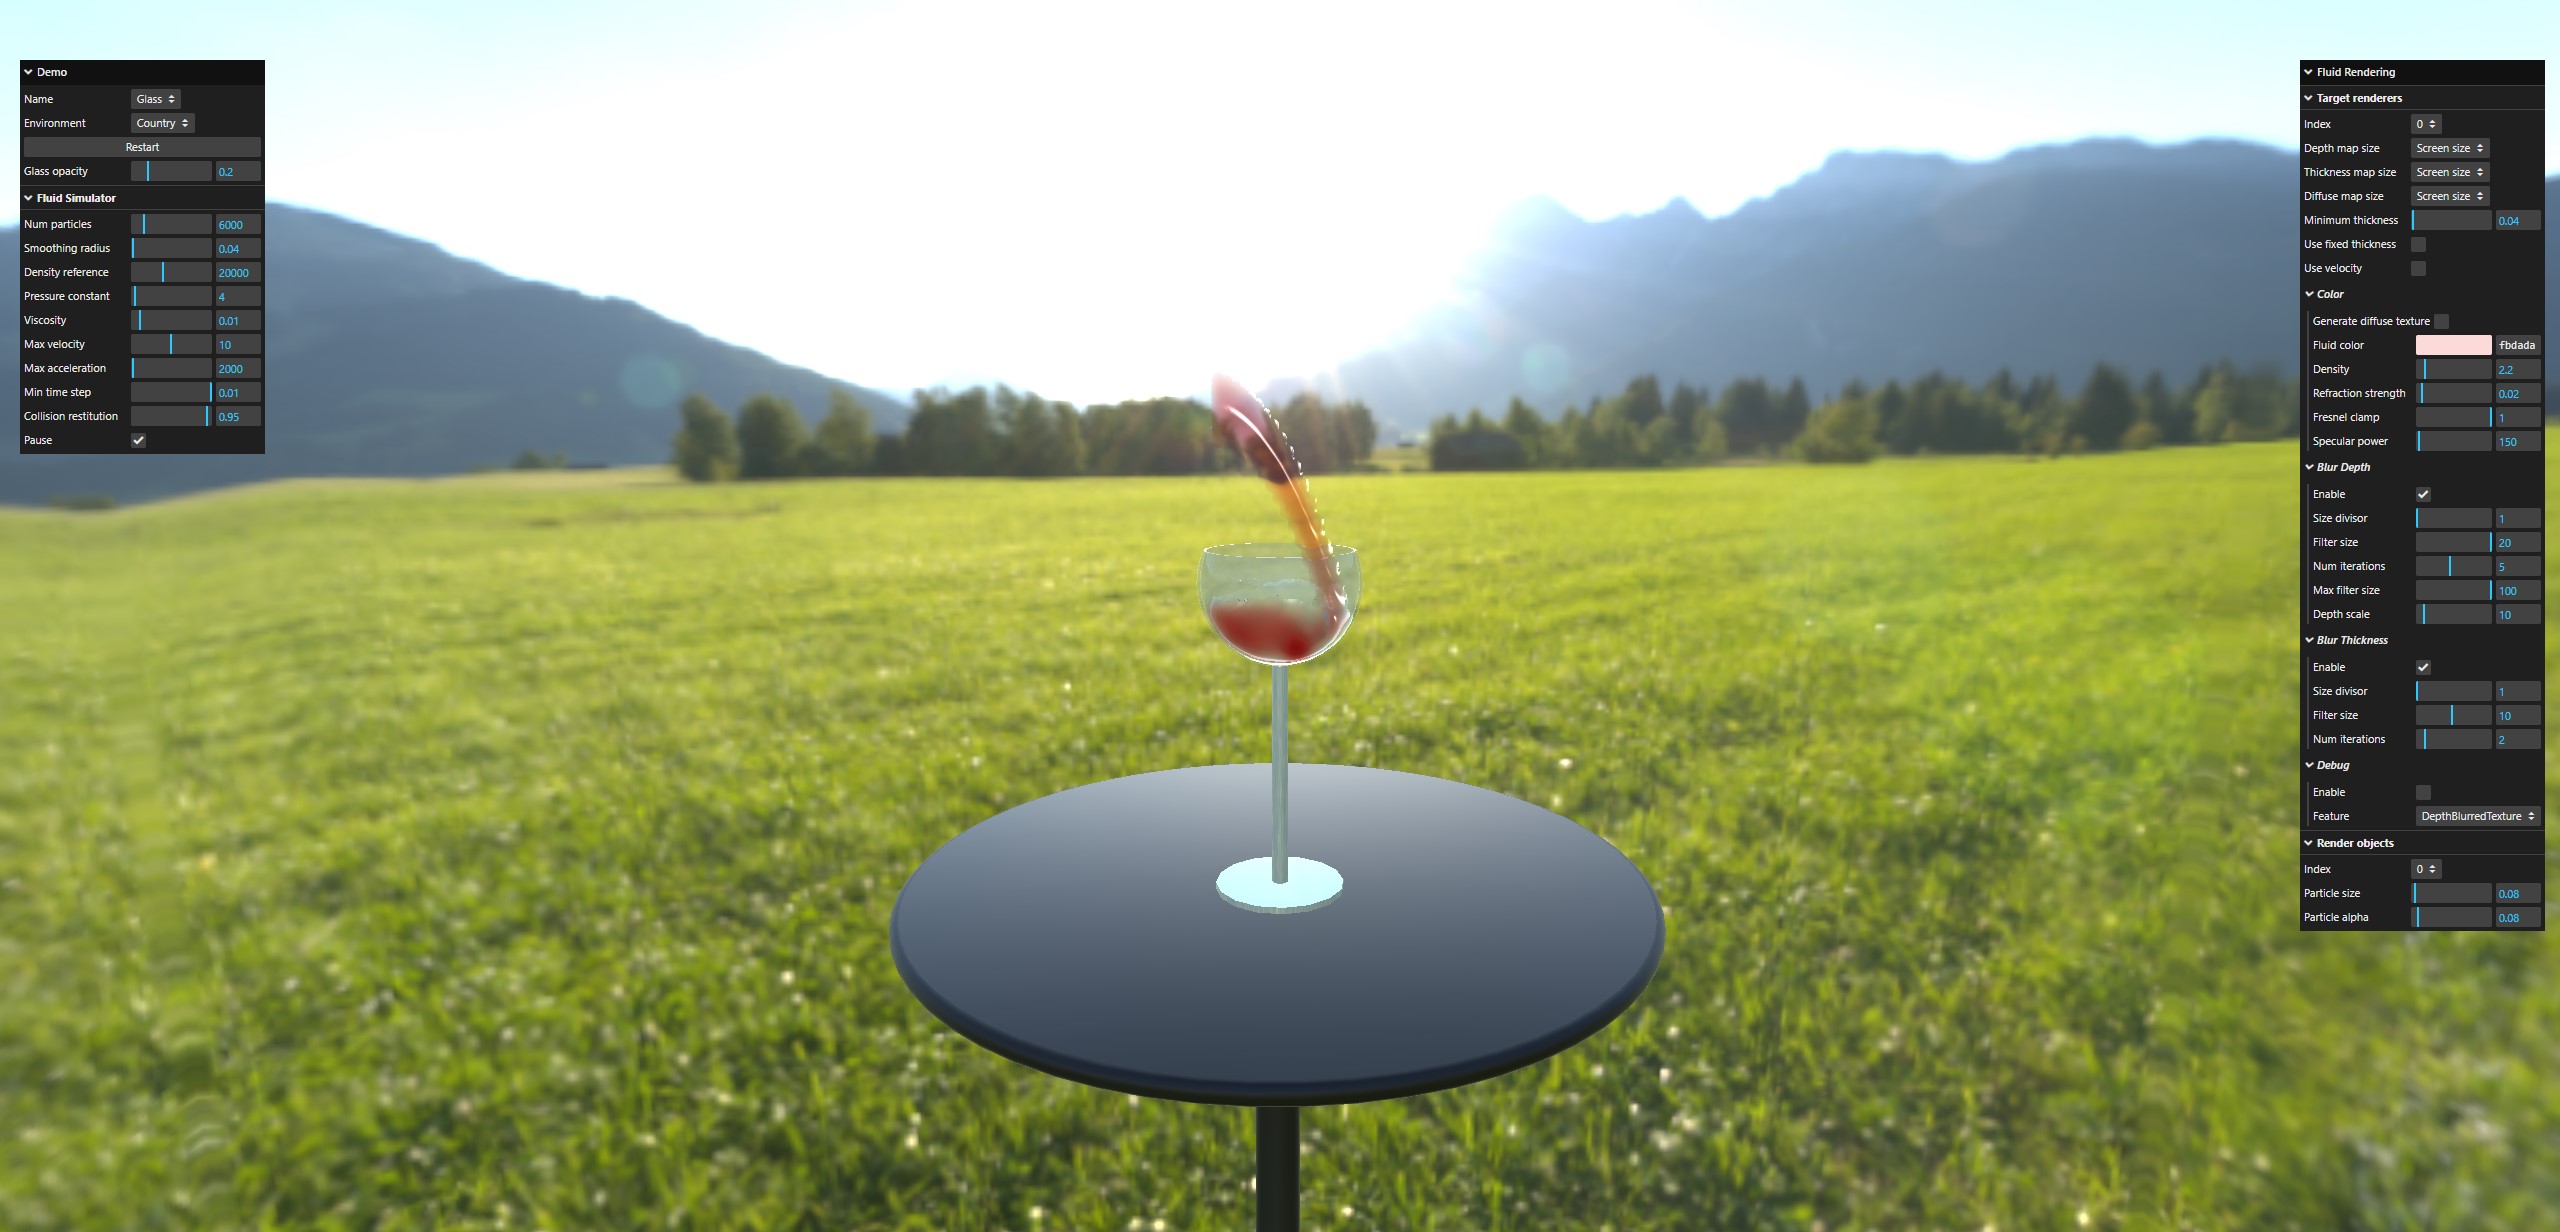
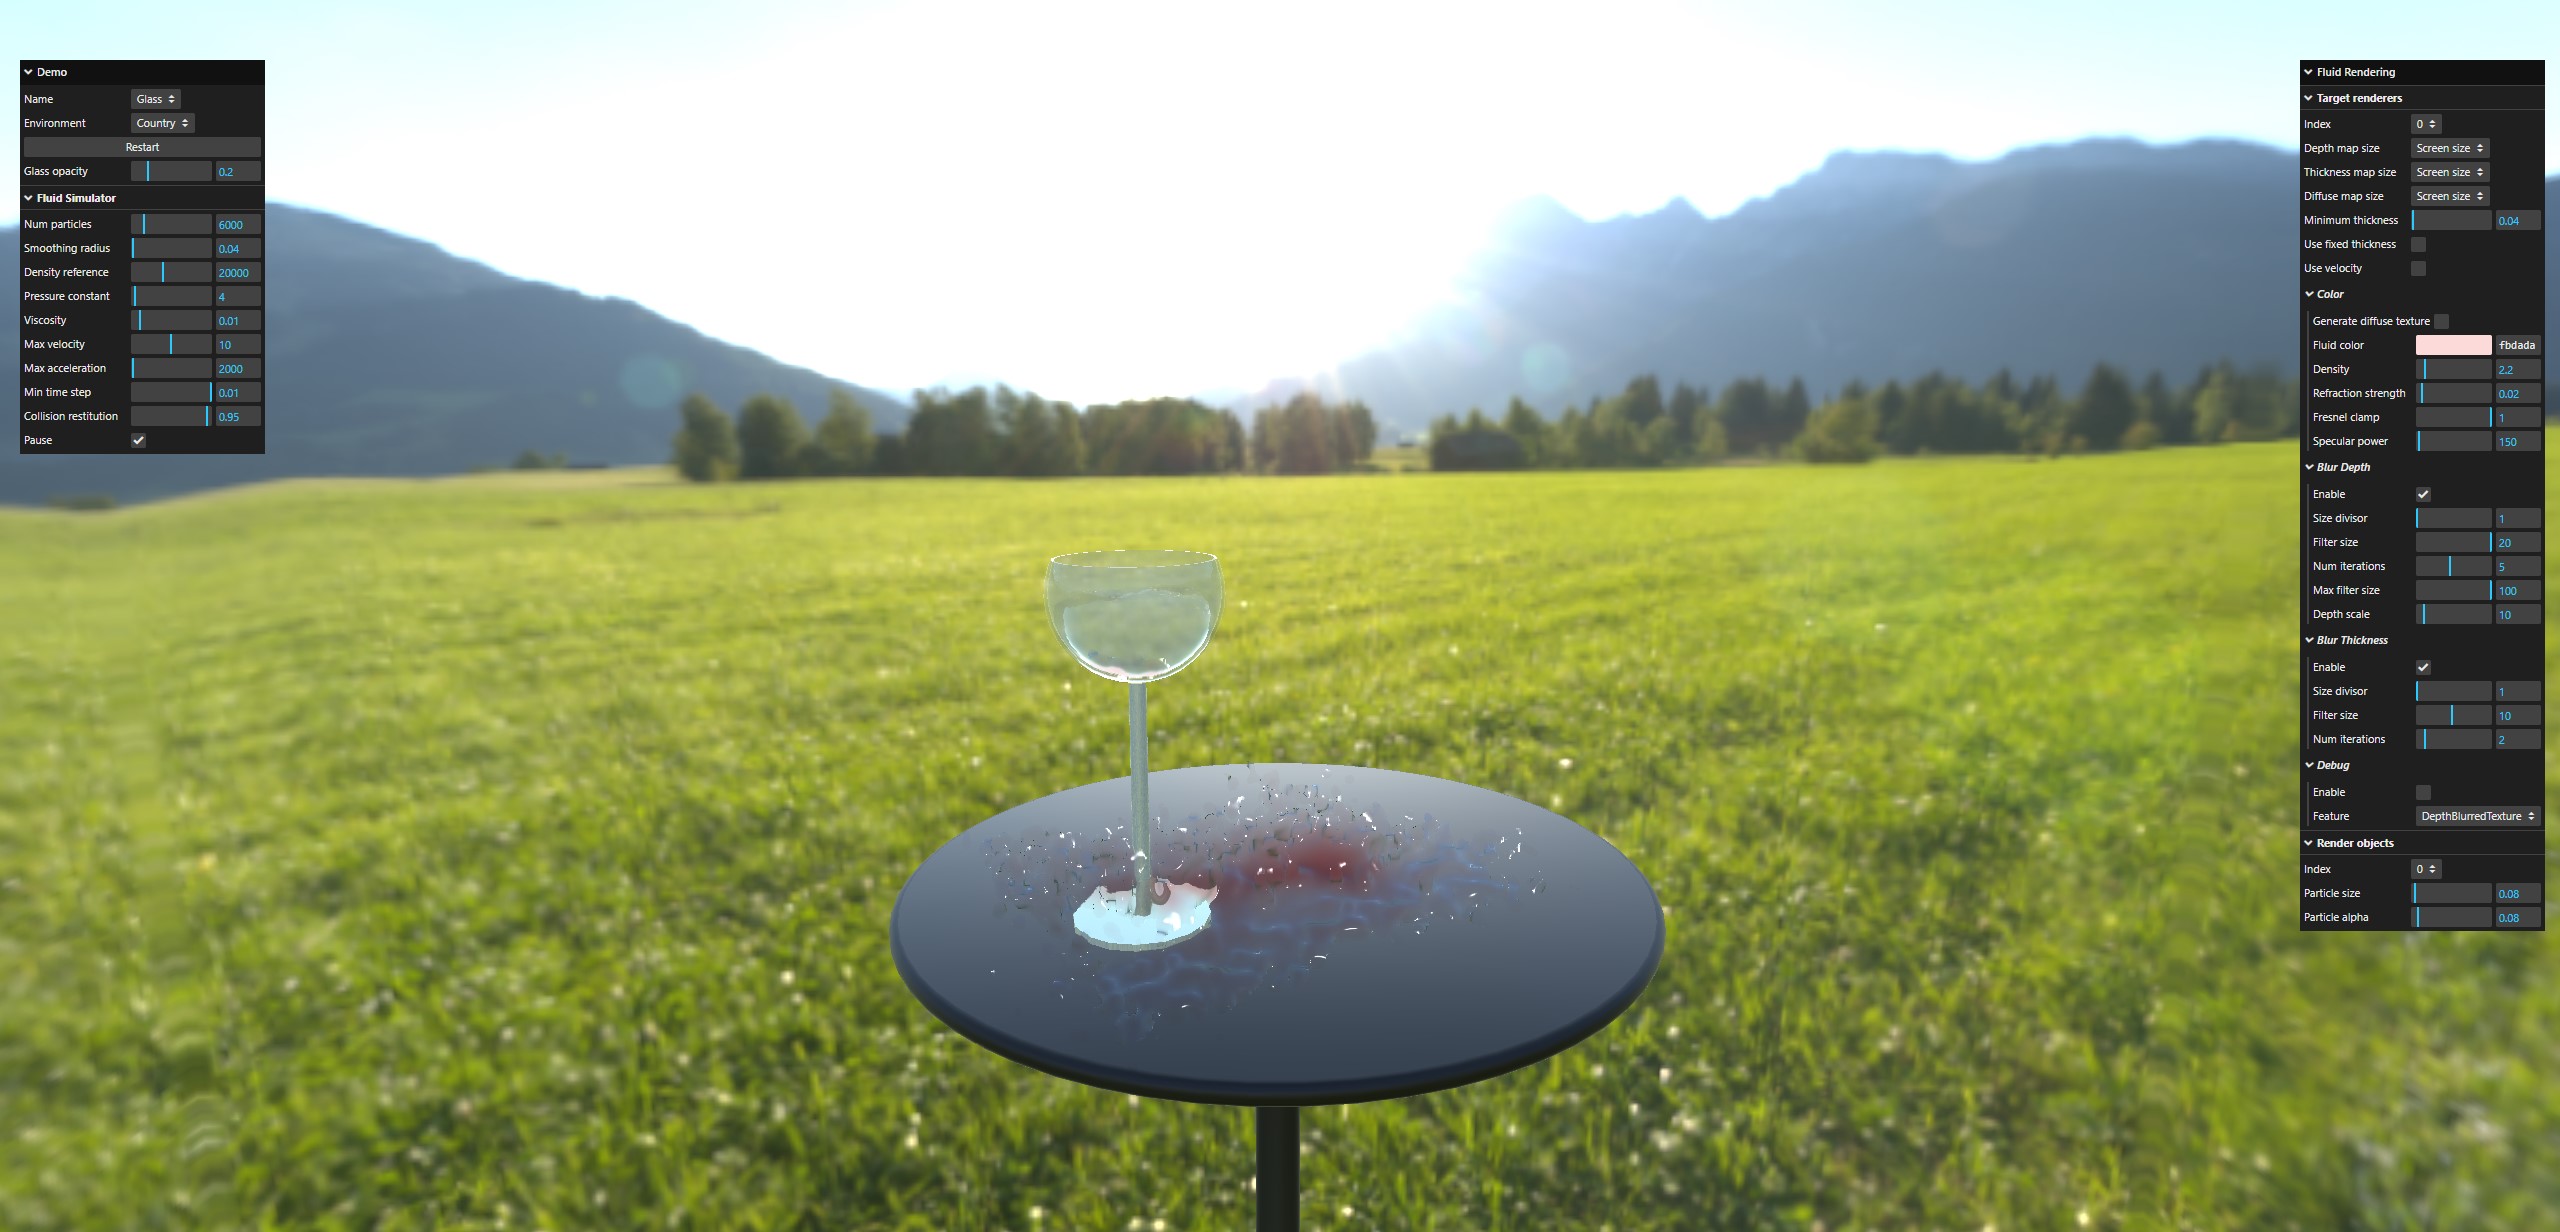
Glass
Note: may take a little while to load, please be patient.
Nothing really new in this demo except that it uses a cut hollow sphere (both for rendering and collision) for the top end of the glass (you can move the glass by dragging the top end).
Mesh SDF
Note: It may take a while to load, please be patient.
This one demonstrates the use of a custom mesh as collision object (both meshes can be moved by dragging them with the mouse).
The SDF representation of the mesh is generated offline using SDFGen. I have forked my own version to improve the .obj loading code a bit and to provide the binary exe file, so that users do not have to compile the project themselves (Windows only): forked SDFGen.
The Dragon and High heels SDF files used in the demo are located in the SDF directory.
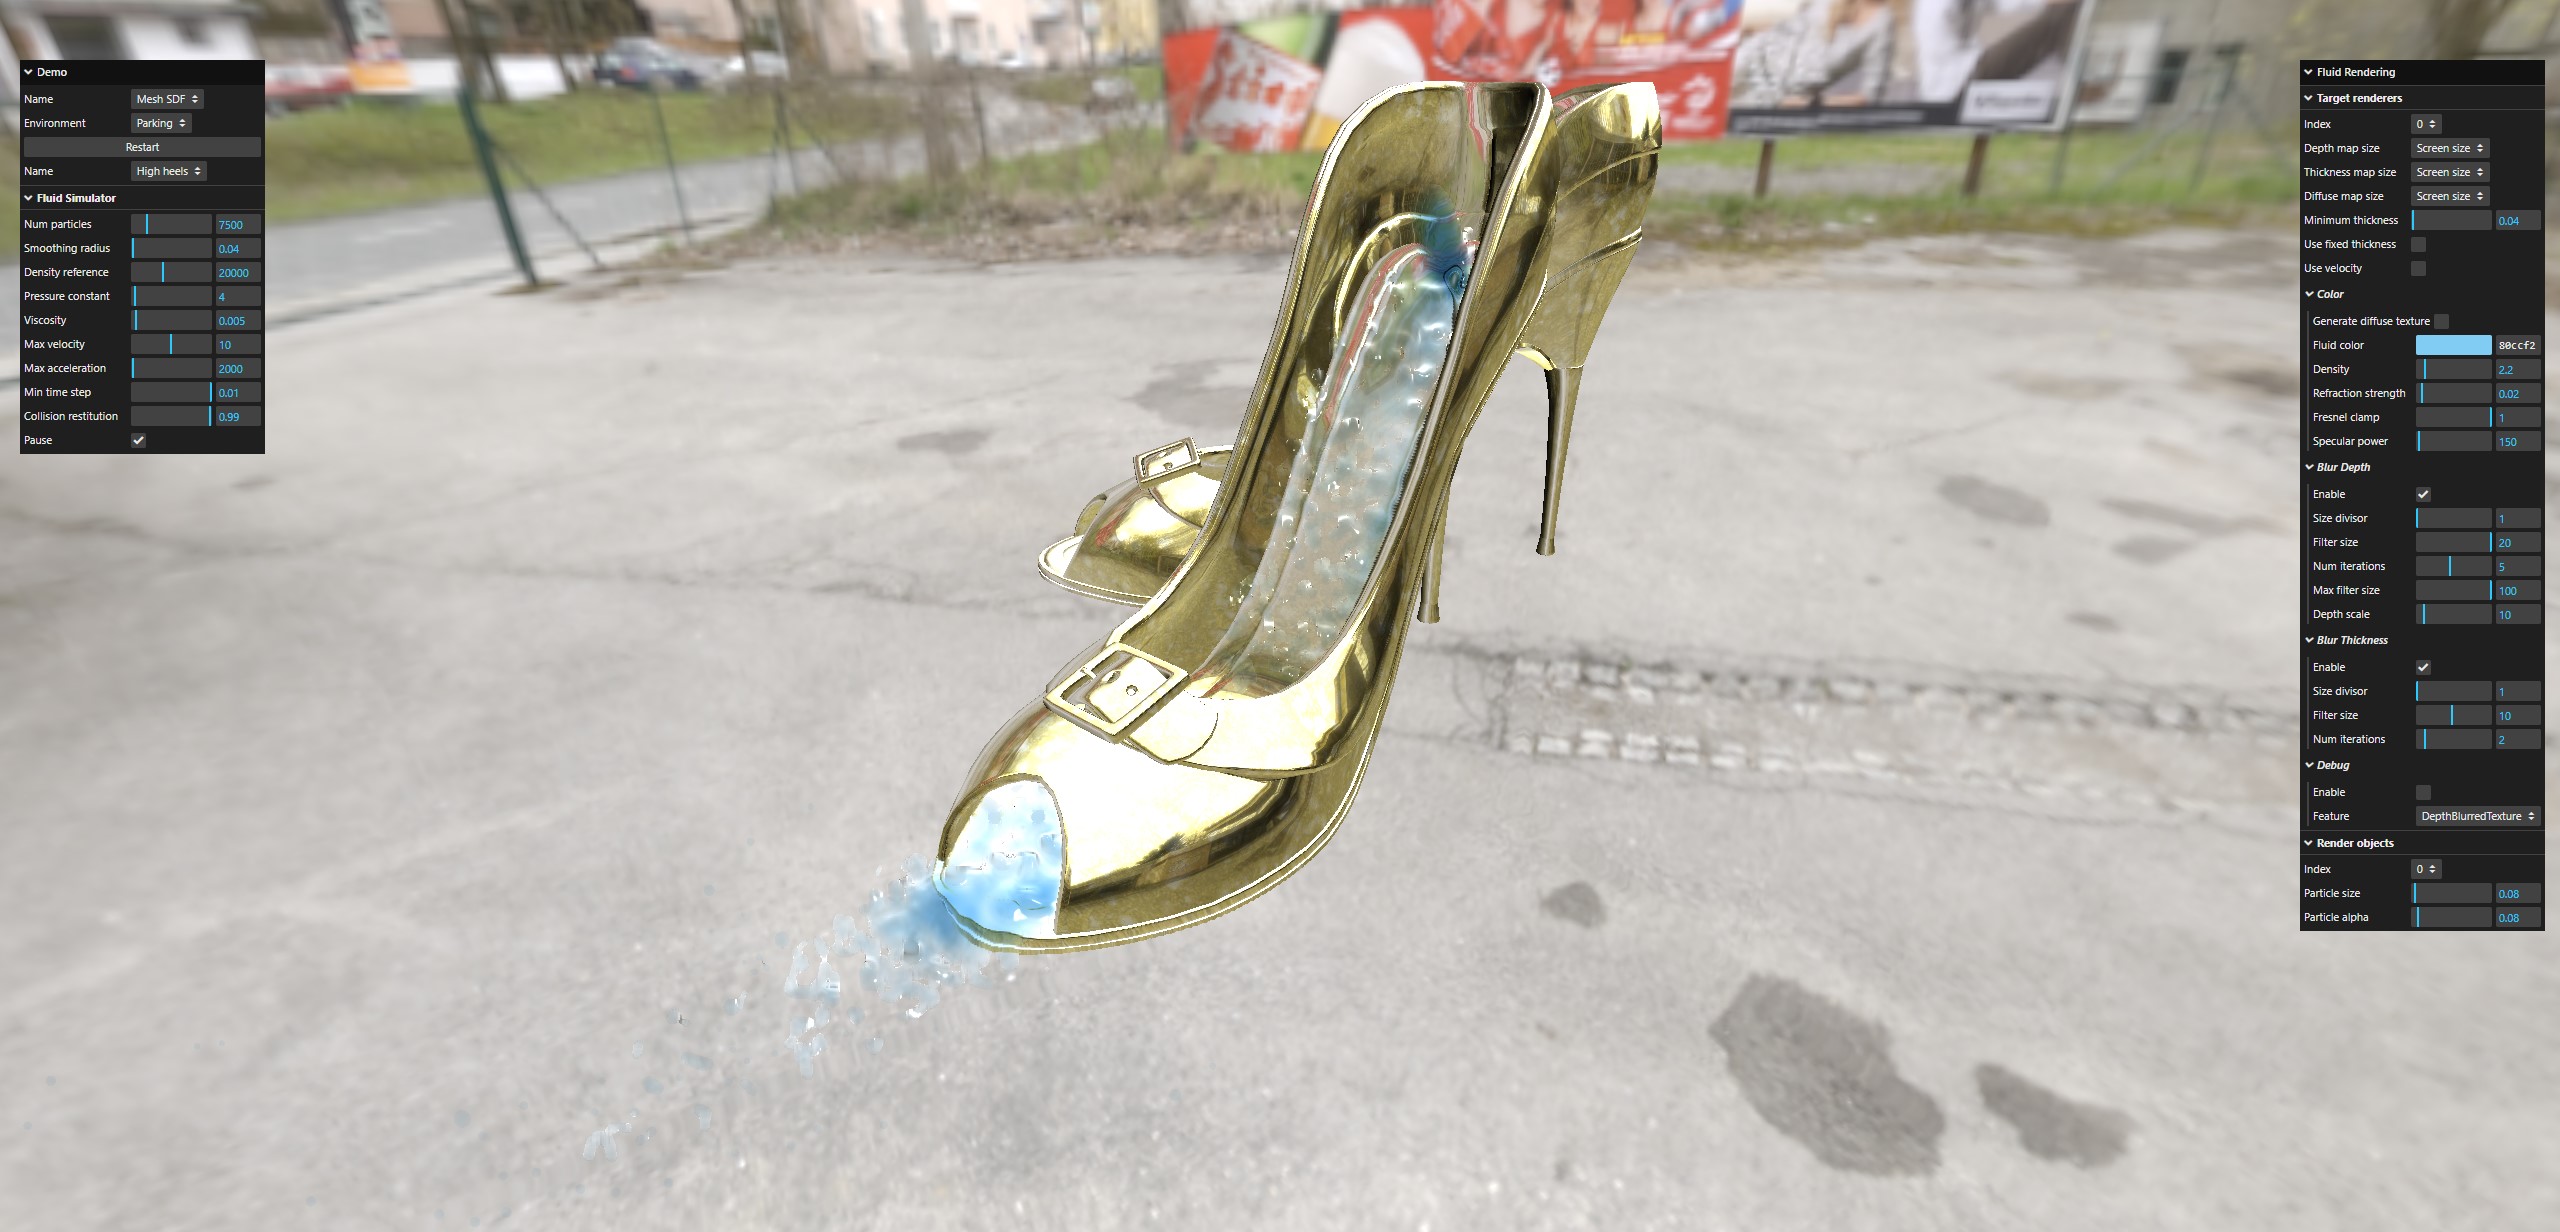

Note: High heels model by cebraVFX found on Sketchfab (https://sketchfab.com/3d-models/high-heels-1561c09fc45349d680e48e3e007b64e0)